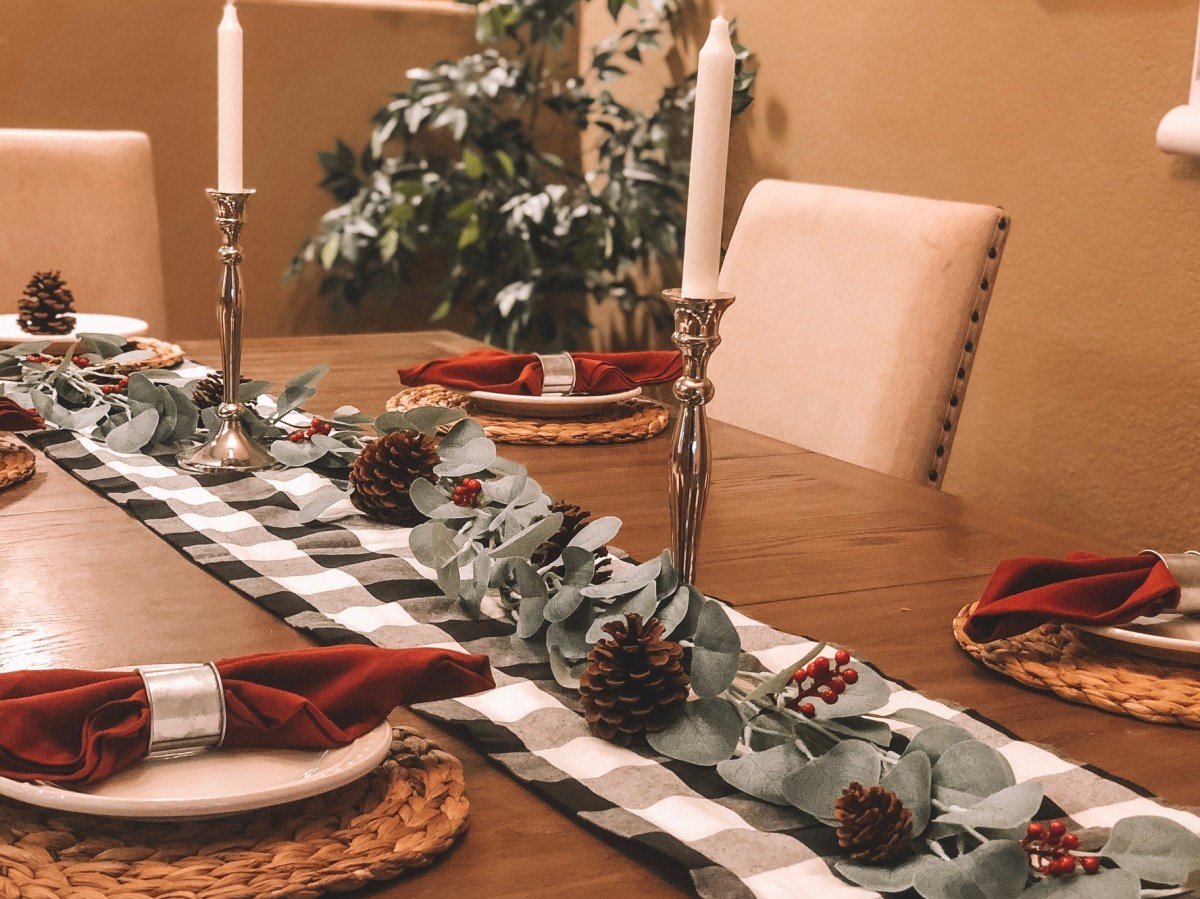
Is it too late to share Christmas decor….maybe? Nah. Here is some inspo for next year. I will link all the items below. Most of these get utilized other places around the house throughout the year. Also here are a few tips for Christmas 2019
6 Tips for Simplifying Christmas
If you’re like me you love decorating for the holidays. But, sometimes it can get overwhelming. Between work, kids and family visiting for the holidays, it can be hard to find time. Here are a few ways you can simplify decorating and enjoy time with your family.
Pick a Theme
It can be colors, reindeers or snowflakes. Picking a theme before you start decorating will prevent your house from looking like Christmas threw up in it. Create a Pinterest board for Christmas 2019 and only add inspiration that fits your theme.
Start Early
The sooner you start planning the less overwhelming decorating becomes. This doesn’t mean you have to put your tree up in July, just start thinking of where you want what this year.
Choose Focal Points
For most, this will be places like a mantel, dining room or stair banister! Start there and work your way out. Not every square inch of you house needs to be decorated. Go big in your main focal areas and keep it simple everywhere else.
Shop
This one is EASY and might be the most fun. Hobby Lobby is probably the best place for holiday décor but there are a ton of great online options as well. You never know what you’re going to find.
Be Faux
Okay, not really. BUT, using faux garland in your home. You can get a few years’ worth of use out of faux garland as long as it’s stored nicely. You can always change up what color bows or beading you add to it.
Get Cozy
Don’t forget to set your flannel, fleece and fuzzy pillows. What’s the point of all this decorating if you can’t cozy up on the couch with some hot chocolate and enjoy the masterpiece you’ve created?
This past Sunday I was honored with the opportunity to host one of my best friends bridal showers.
We decided that we wanted to have it during brunch hours so we could have a bagel and mimosa bar.
I have this amazing place, The Napa Deli, by my work that makes the most incredible veggie bagel (check them out)! So, I sort of stole some ideas from what they use to make theirs and our very own bagel bar was created!
The mimosa bar was easy! Champagne, juice and of course, fruit! I bought a bunch of champagne flutes from Ikea and spray painted the bottoms with chalk paint. The idea was to have everyone write their name and keep the glass as a shower favor. (I ended having a ton left over, should have made it more clear I guess LOL)
Now for the decor! My mom found me some beautiful olive branches that I used as runners and placed blush roses within it. So simple and elegant. I had the balloon hoop made by a local company, Debs’ Balloons. I also bought some flower arrangements from Costco and placed them around the house for an extra pop of color.
This remodel is one I’ve wanted to do since I purchased the home. Everything about the house was pretty updated, we got lucky. The kitchen, though extremely small, had “newer” cabinets and countertops. I was able to live with it for about a year..then I hosted friendsgiving. That was it. Friends and I were trying to get the best lighting for a photo and somehow ended up in the tiny little kitchen. After seeing the picture, I decided this is it, the wall is coming down.
The wall separating the kitchen and the living room seemed to be load barring (scary). So I knew we would need some professional assistance. I had a contractor come over to check things out and he said at the minimum it would be $40,000. Hell to the no. I knew I didn’t want to spend anywhere near that amount. Especially since this is not the house I want to live in for the rest of my life. I eventually reached out to a friend of mine who I knew flipped houses for a living. He came over to check things out and asked me how much I wanted to spend. I told him $20,000 and he said let’s make it happen. This man and his wife, a godsend I swear.
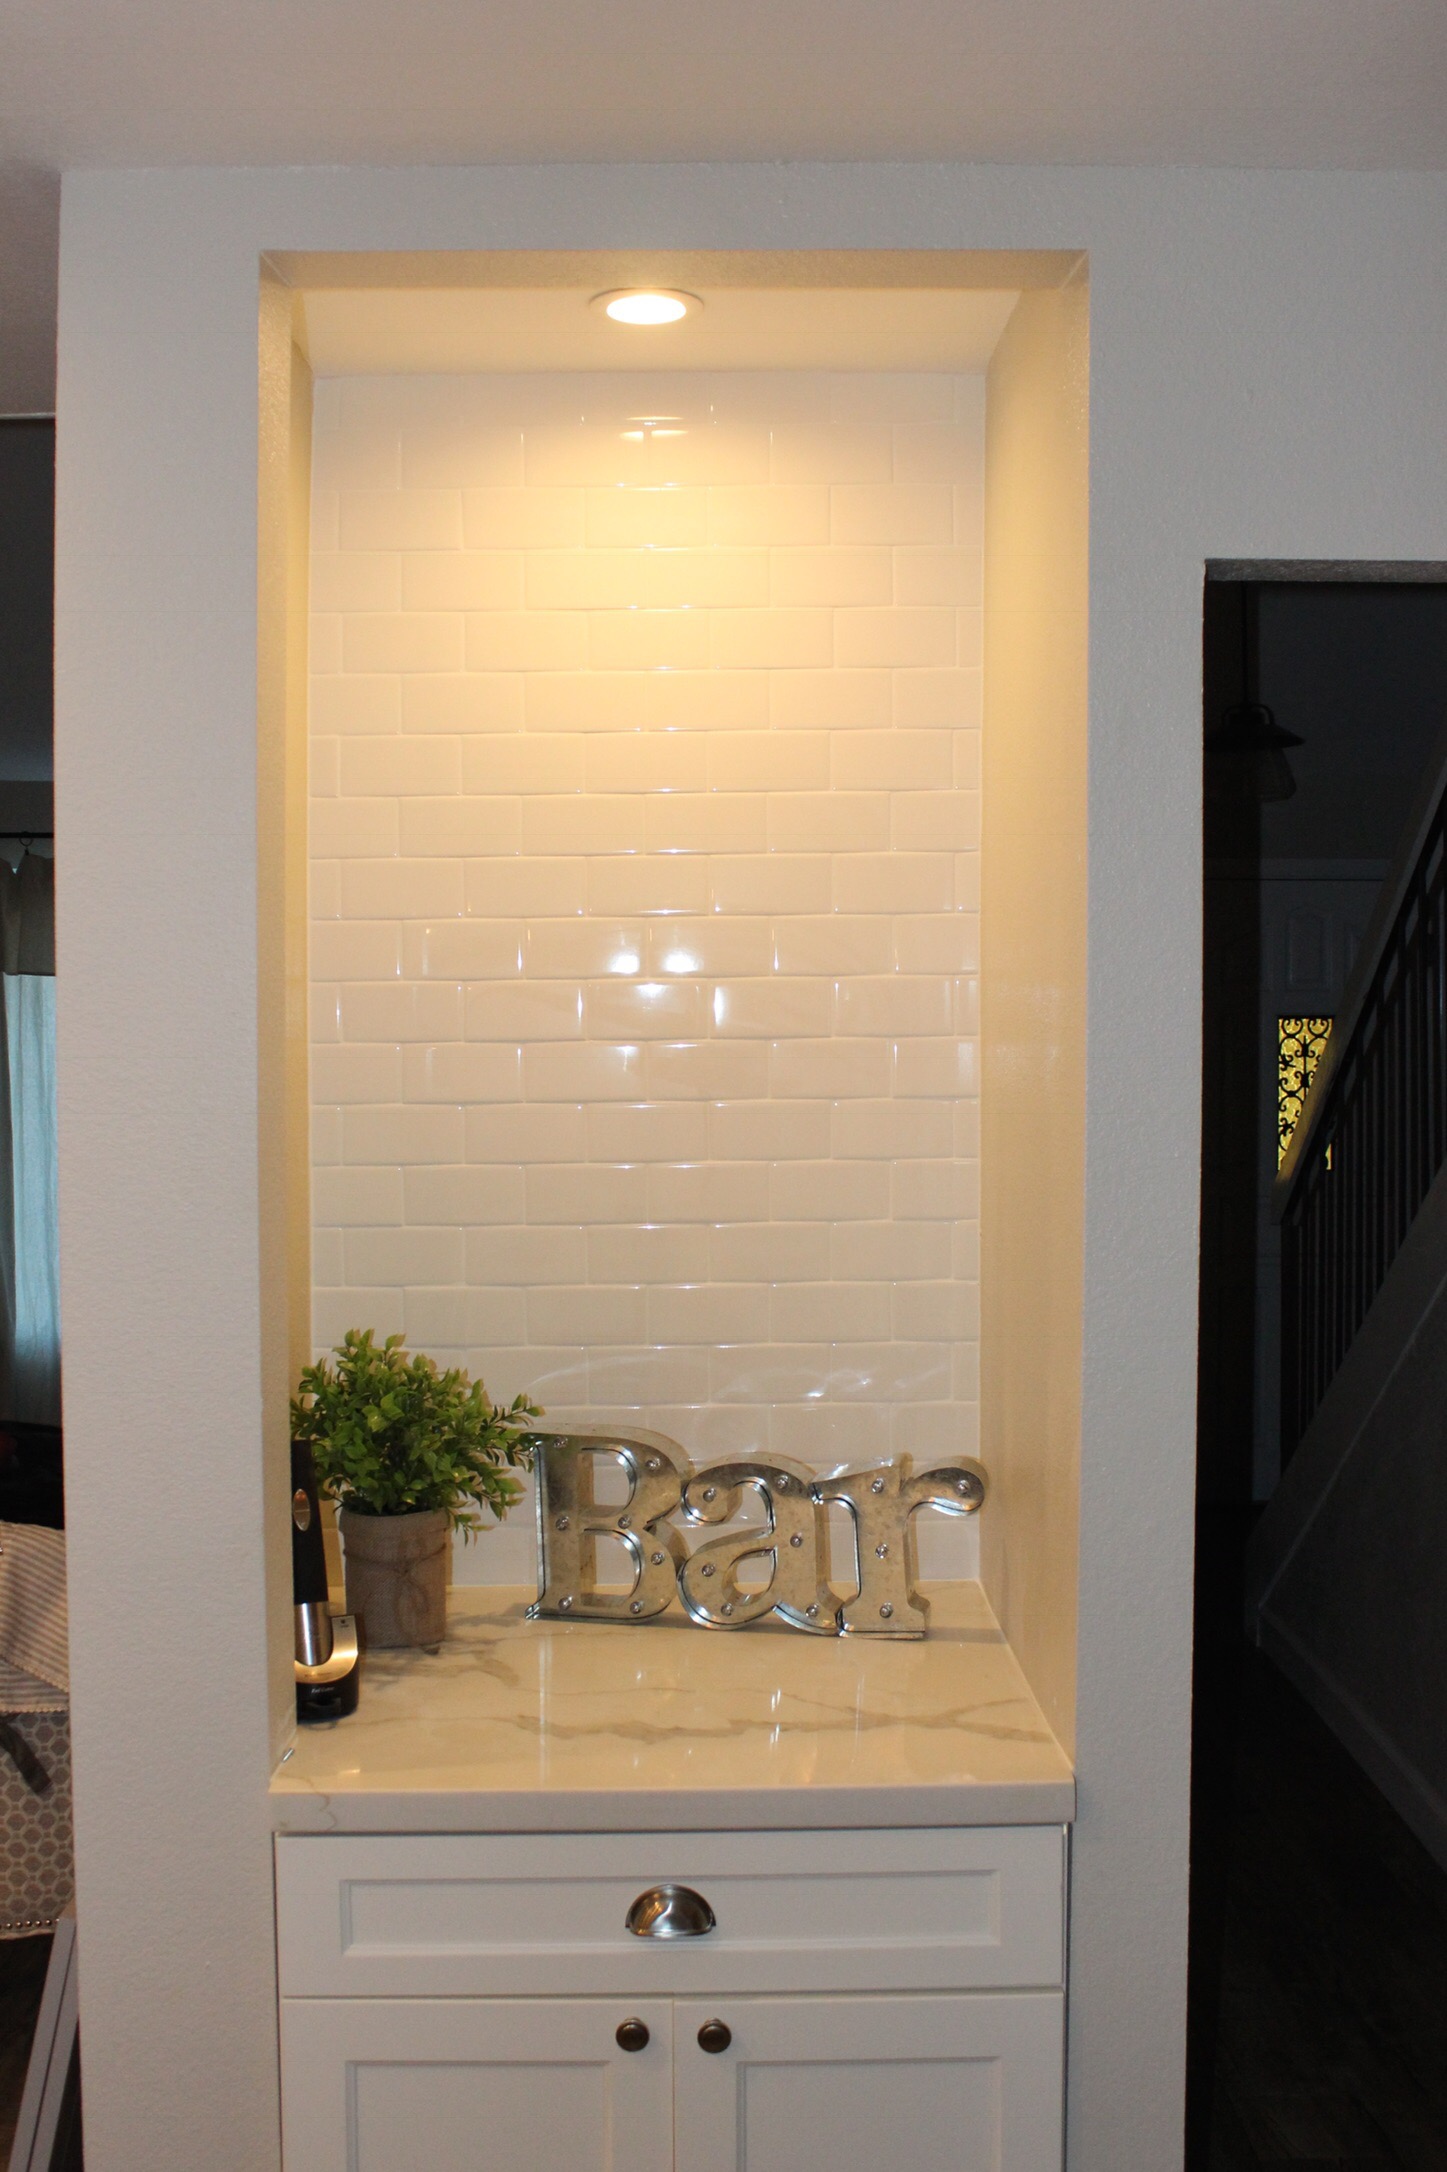
The remodel started in April and was completed sometime in June. We sat down and came up with a layout for the kitchen. At this point there would be a post in the center of my island that connected to a beam in the ceiling. We were going to leave it exposed and stain it, like you’ve all seen on Pinterest, i’m sure. We got the official plans from the cabinet company and demo started. It wasnt until we started tearing down sheetrock that we found out the wall was not load bearing. Score! We did find that the existing pantry, that I wanted to take down completely, had 3 load bearing posts in it. We quickly converted the design plans for that to be an open bar area. Oh, let me mention, I kept this a secret from my family. Yep mom and dad included. Yikes that was hard.
Living in a demolition zone, SUCKED. Especially with a dog. We didn’t tarp anything off so the dust was EVERYWHERE. Literally. Not to mention all of the electrical wire hanging from the ceiling. We had new Sheetrock installed and new texture to match the existing. Everything looked great, yay! That relief quickly turned into a stomach ache, literally. The house smelt like something had died in it and was left to rot. Some said it smelled like a dirty diaper (ew). It turned out to be sour texture, yes that’s a thing. We lived with this for about a week. Spraying everything with mold and mildew spray, added an air refreshener to our A.C. vent but nothing worked. Finally the drywall guys came in and sealed the walls with some something super powerful and repainted. Glad they were able to fix it because I was not about to have people coming in my house thinking it smelled like a dirty diaper. No freaking way.
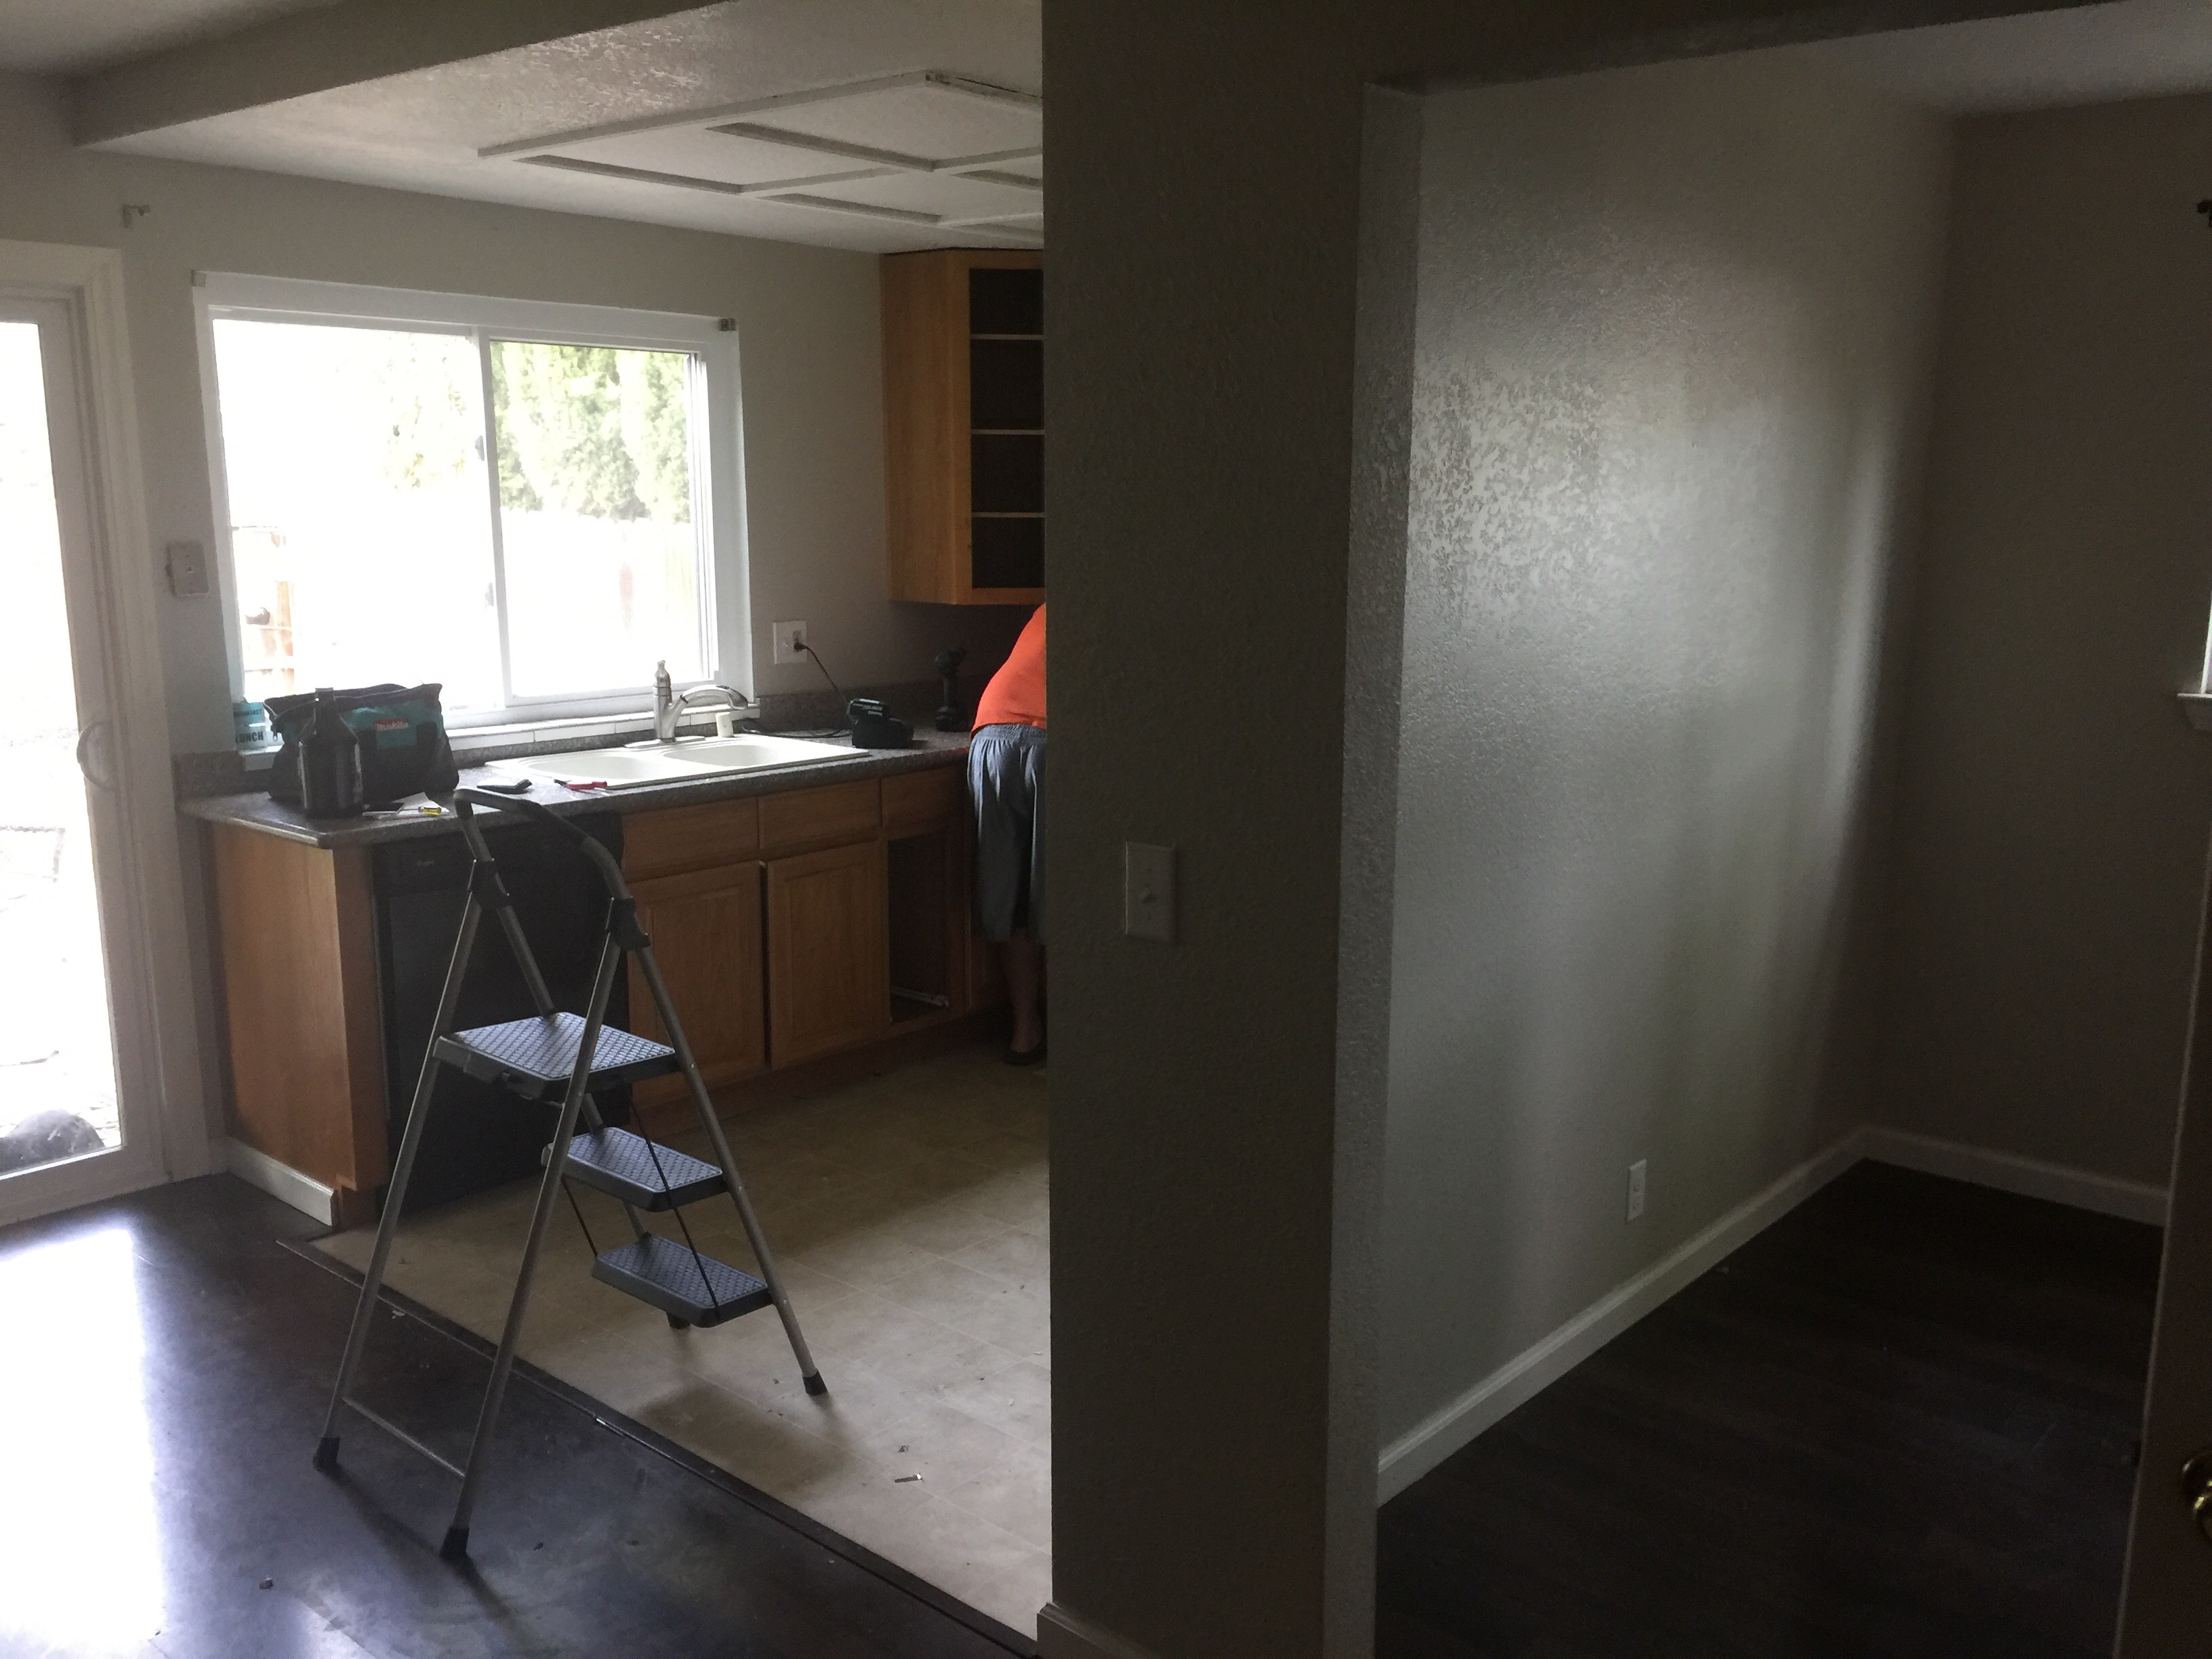
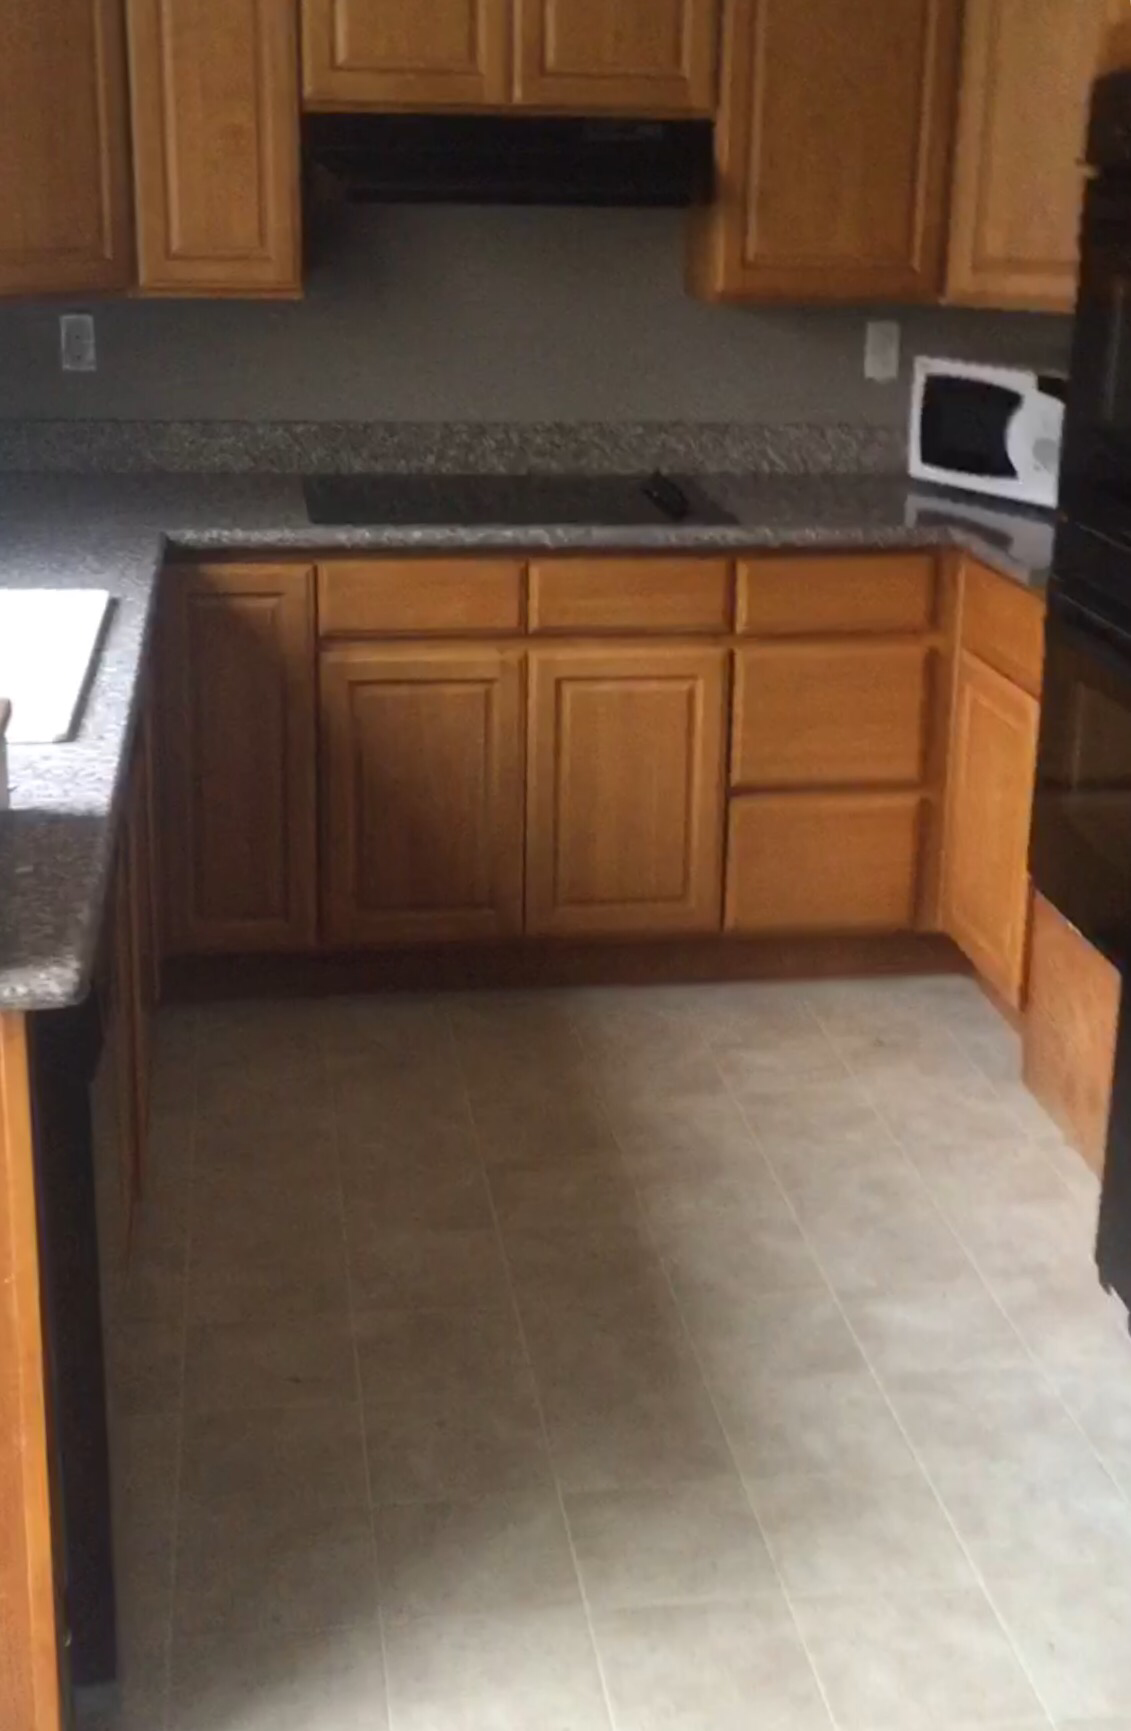
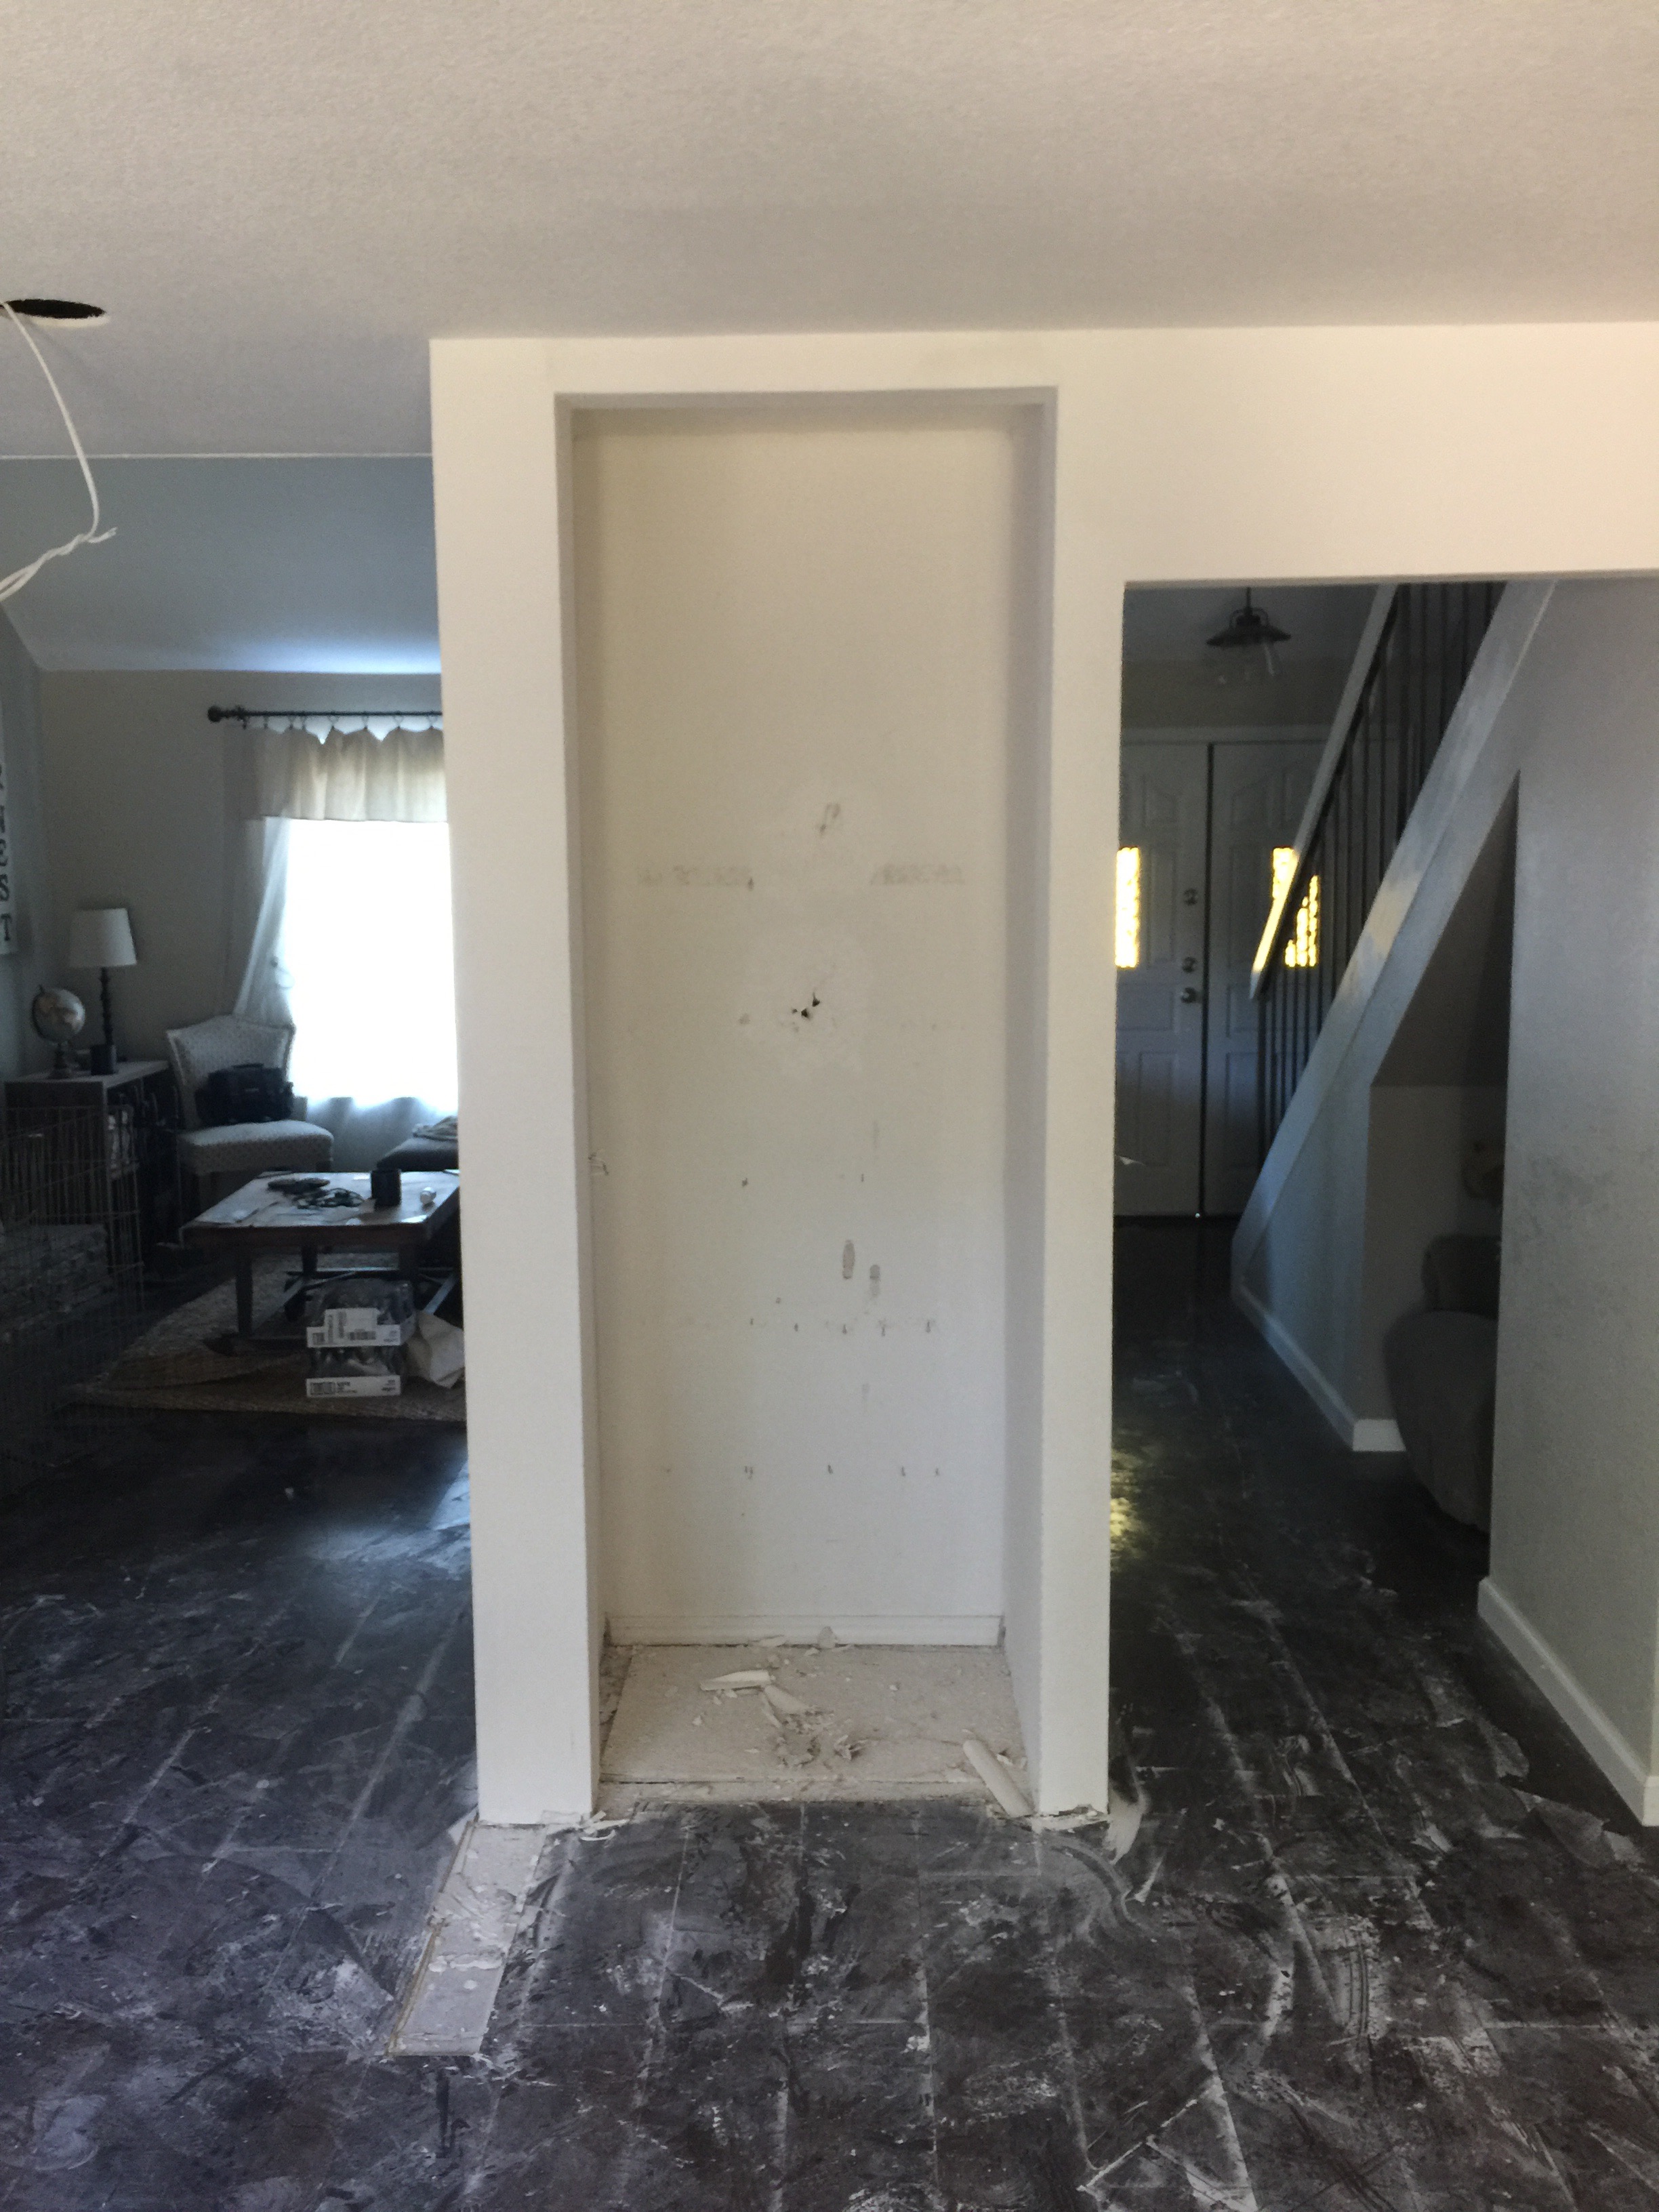
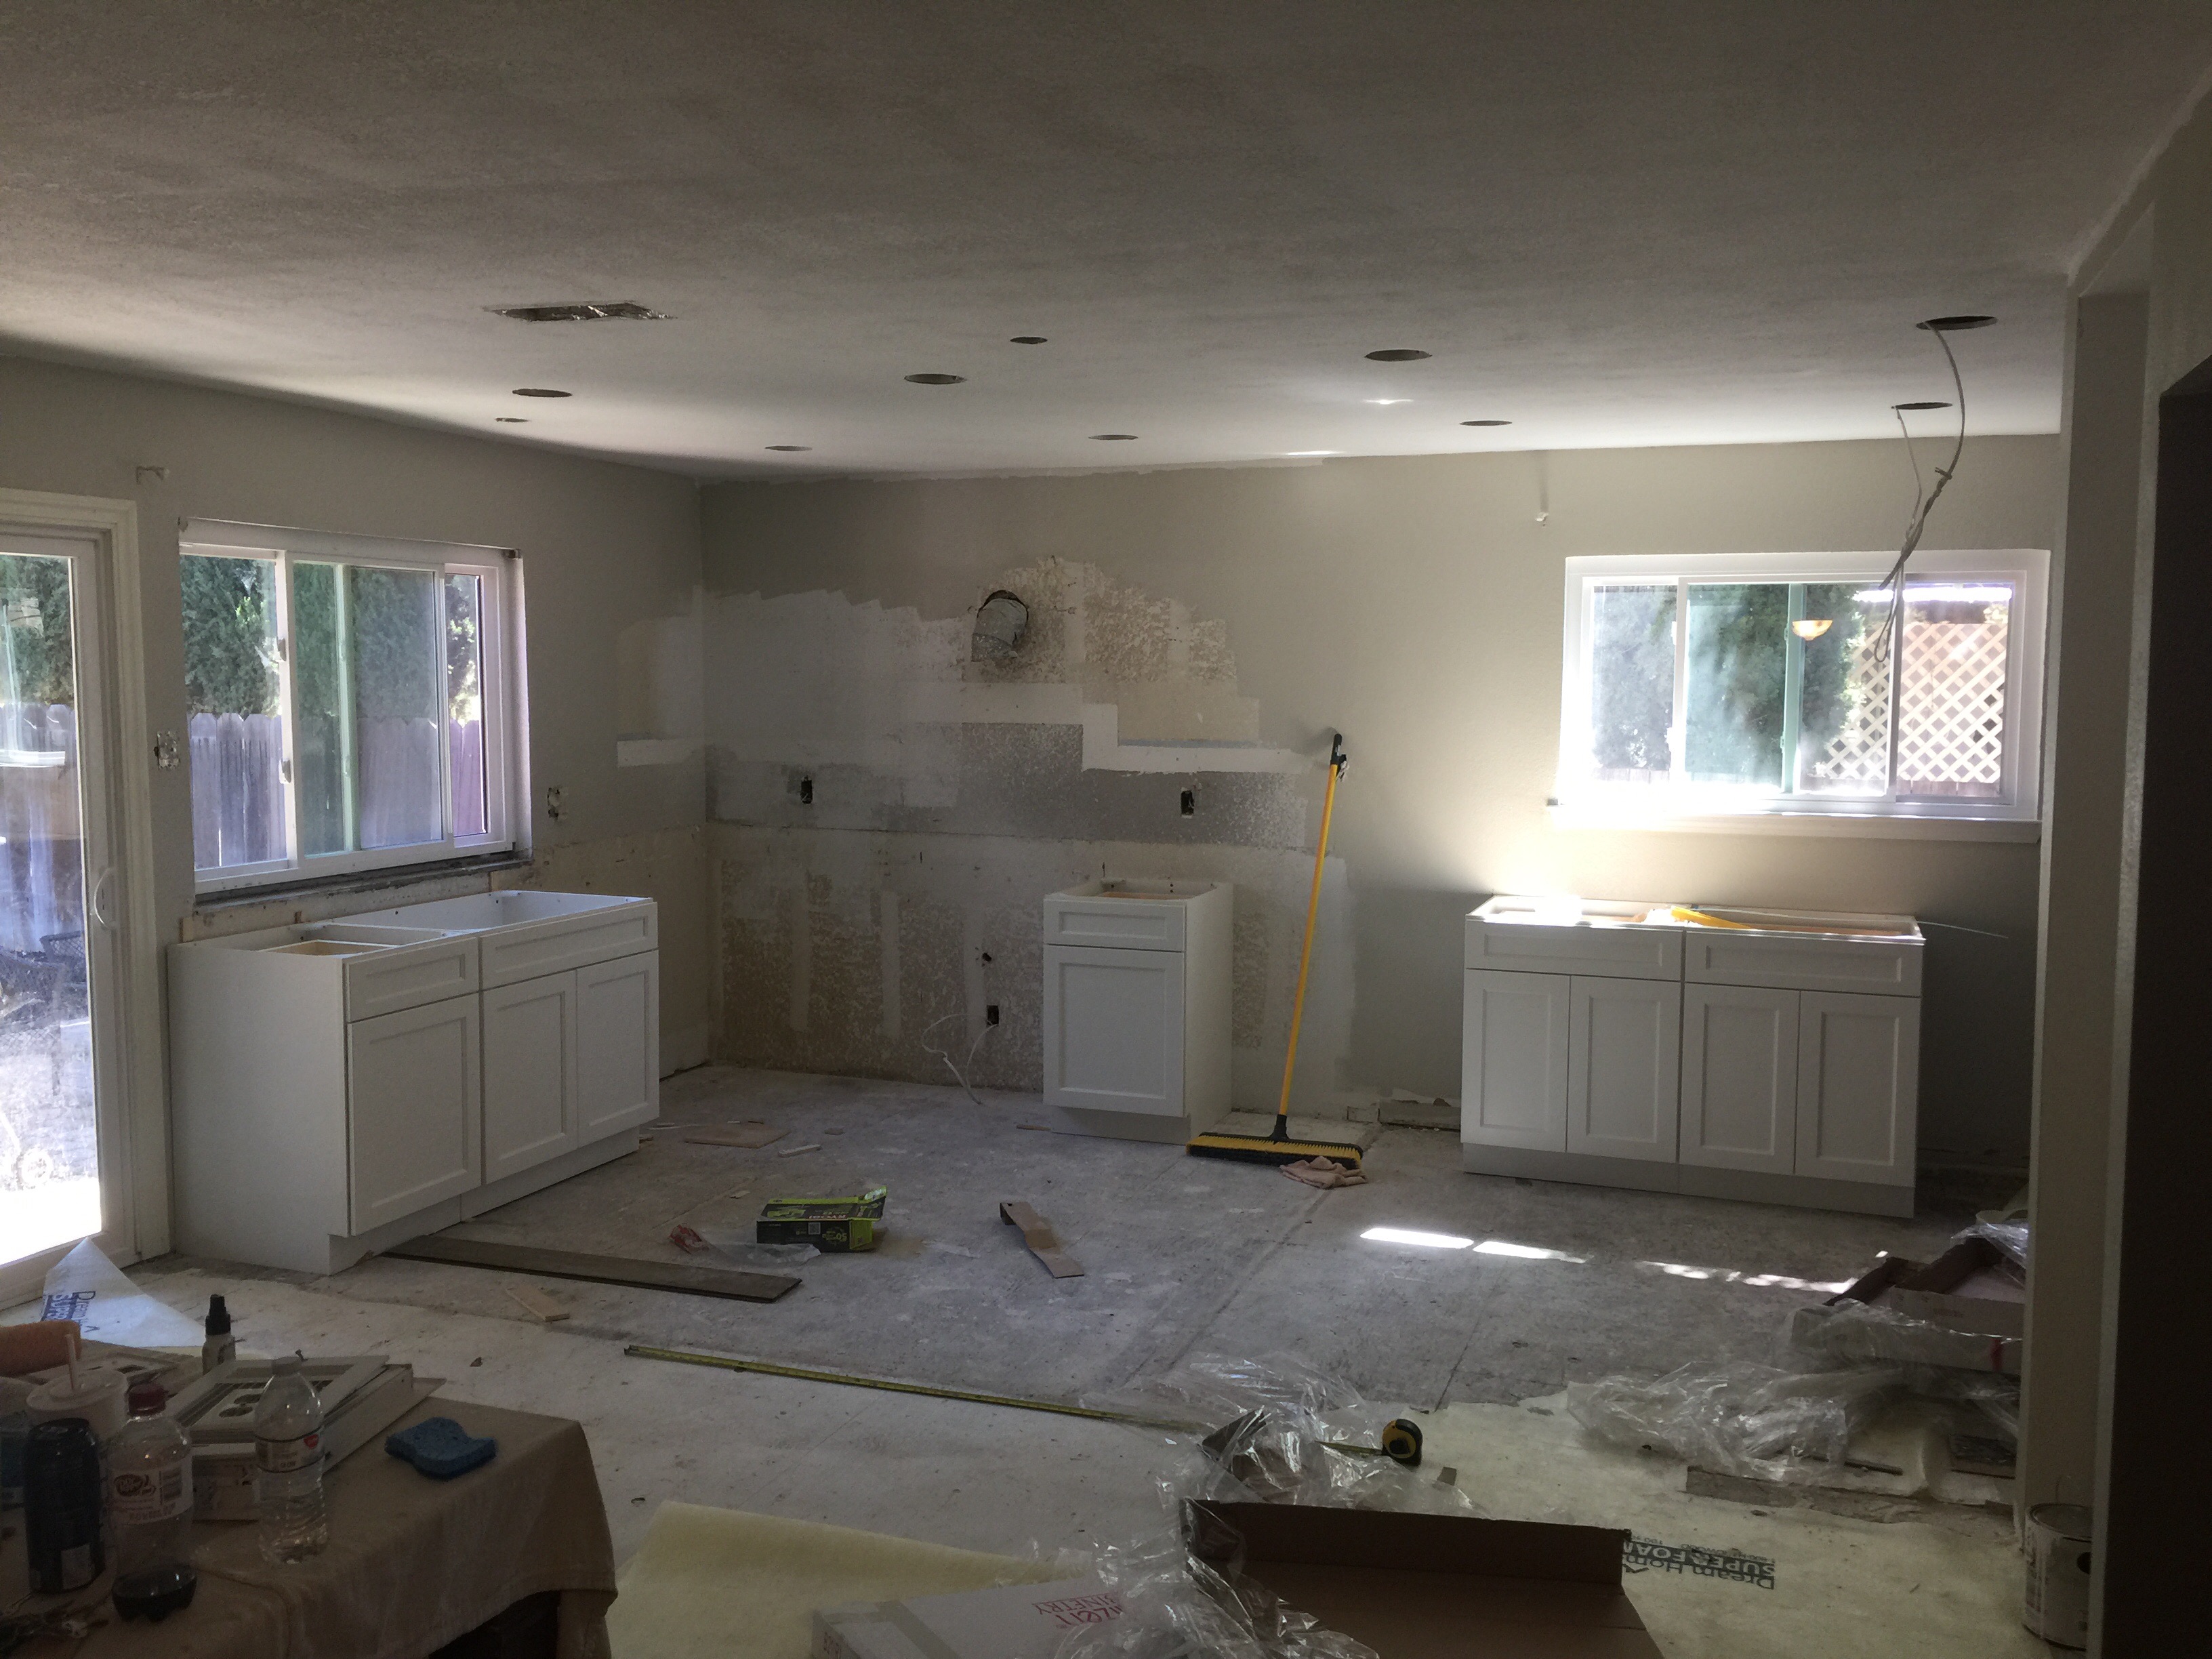
Before I get ahead of myself let’s show y’all some before pictures
Wall that was taken downPantry and drop ceiling and there removed/alteredAnother view of the wall from living roomFridge is where the now island isTiny tiny kitchen
There it was, in all her glory. Tiny little kitchen that we lived with for a year or so. It got the job done just not in a way that I wanted. My main reason for the remodel was to have a more open feel. I’m not some amazing or frequent cook that needs a perfect layout or all the high-end appliances. I simply wanted a space great for entertaining, I got just that. I now have perfect few from the couch into the kitchen. Blessing and a curse because now even the smallest thing on the counter will bother me when I’m watching tv or working from the couch. I HAVE to get up a fix it. I also now have an island that seats 4 and plenty of space to gather around. The dining room table sits just to the left of the island which is great for hosting a lot of people.
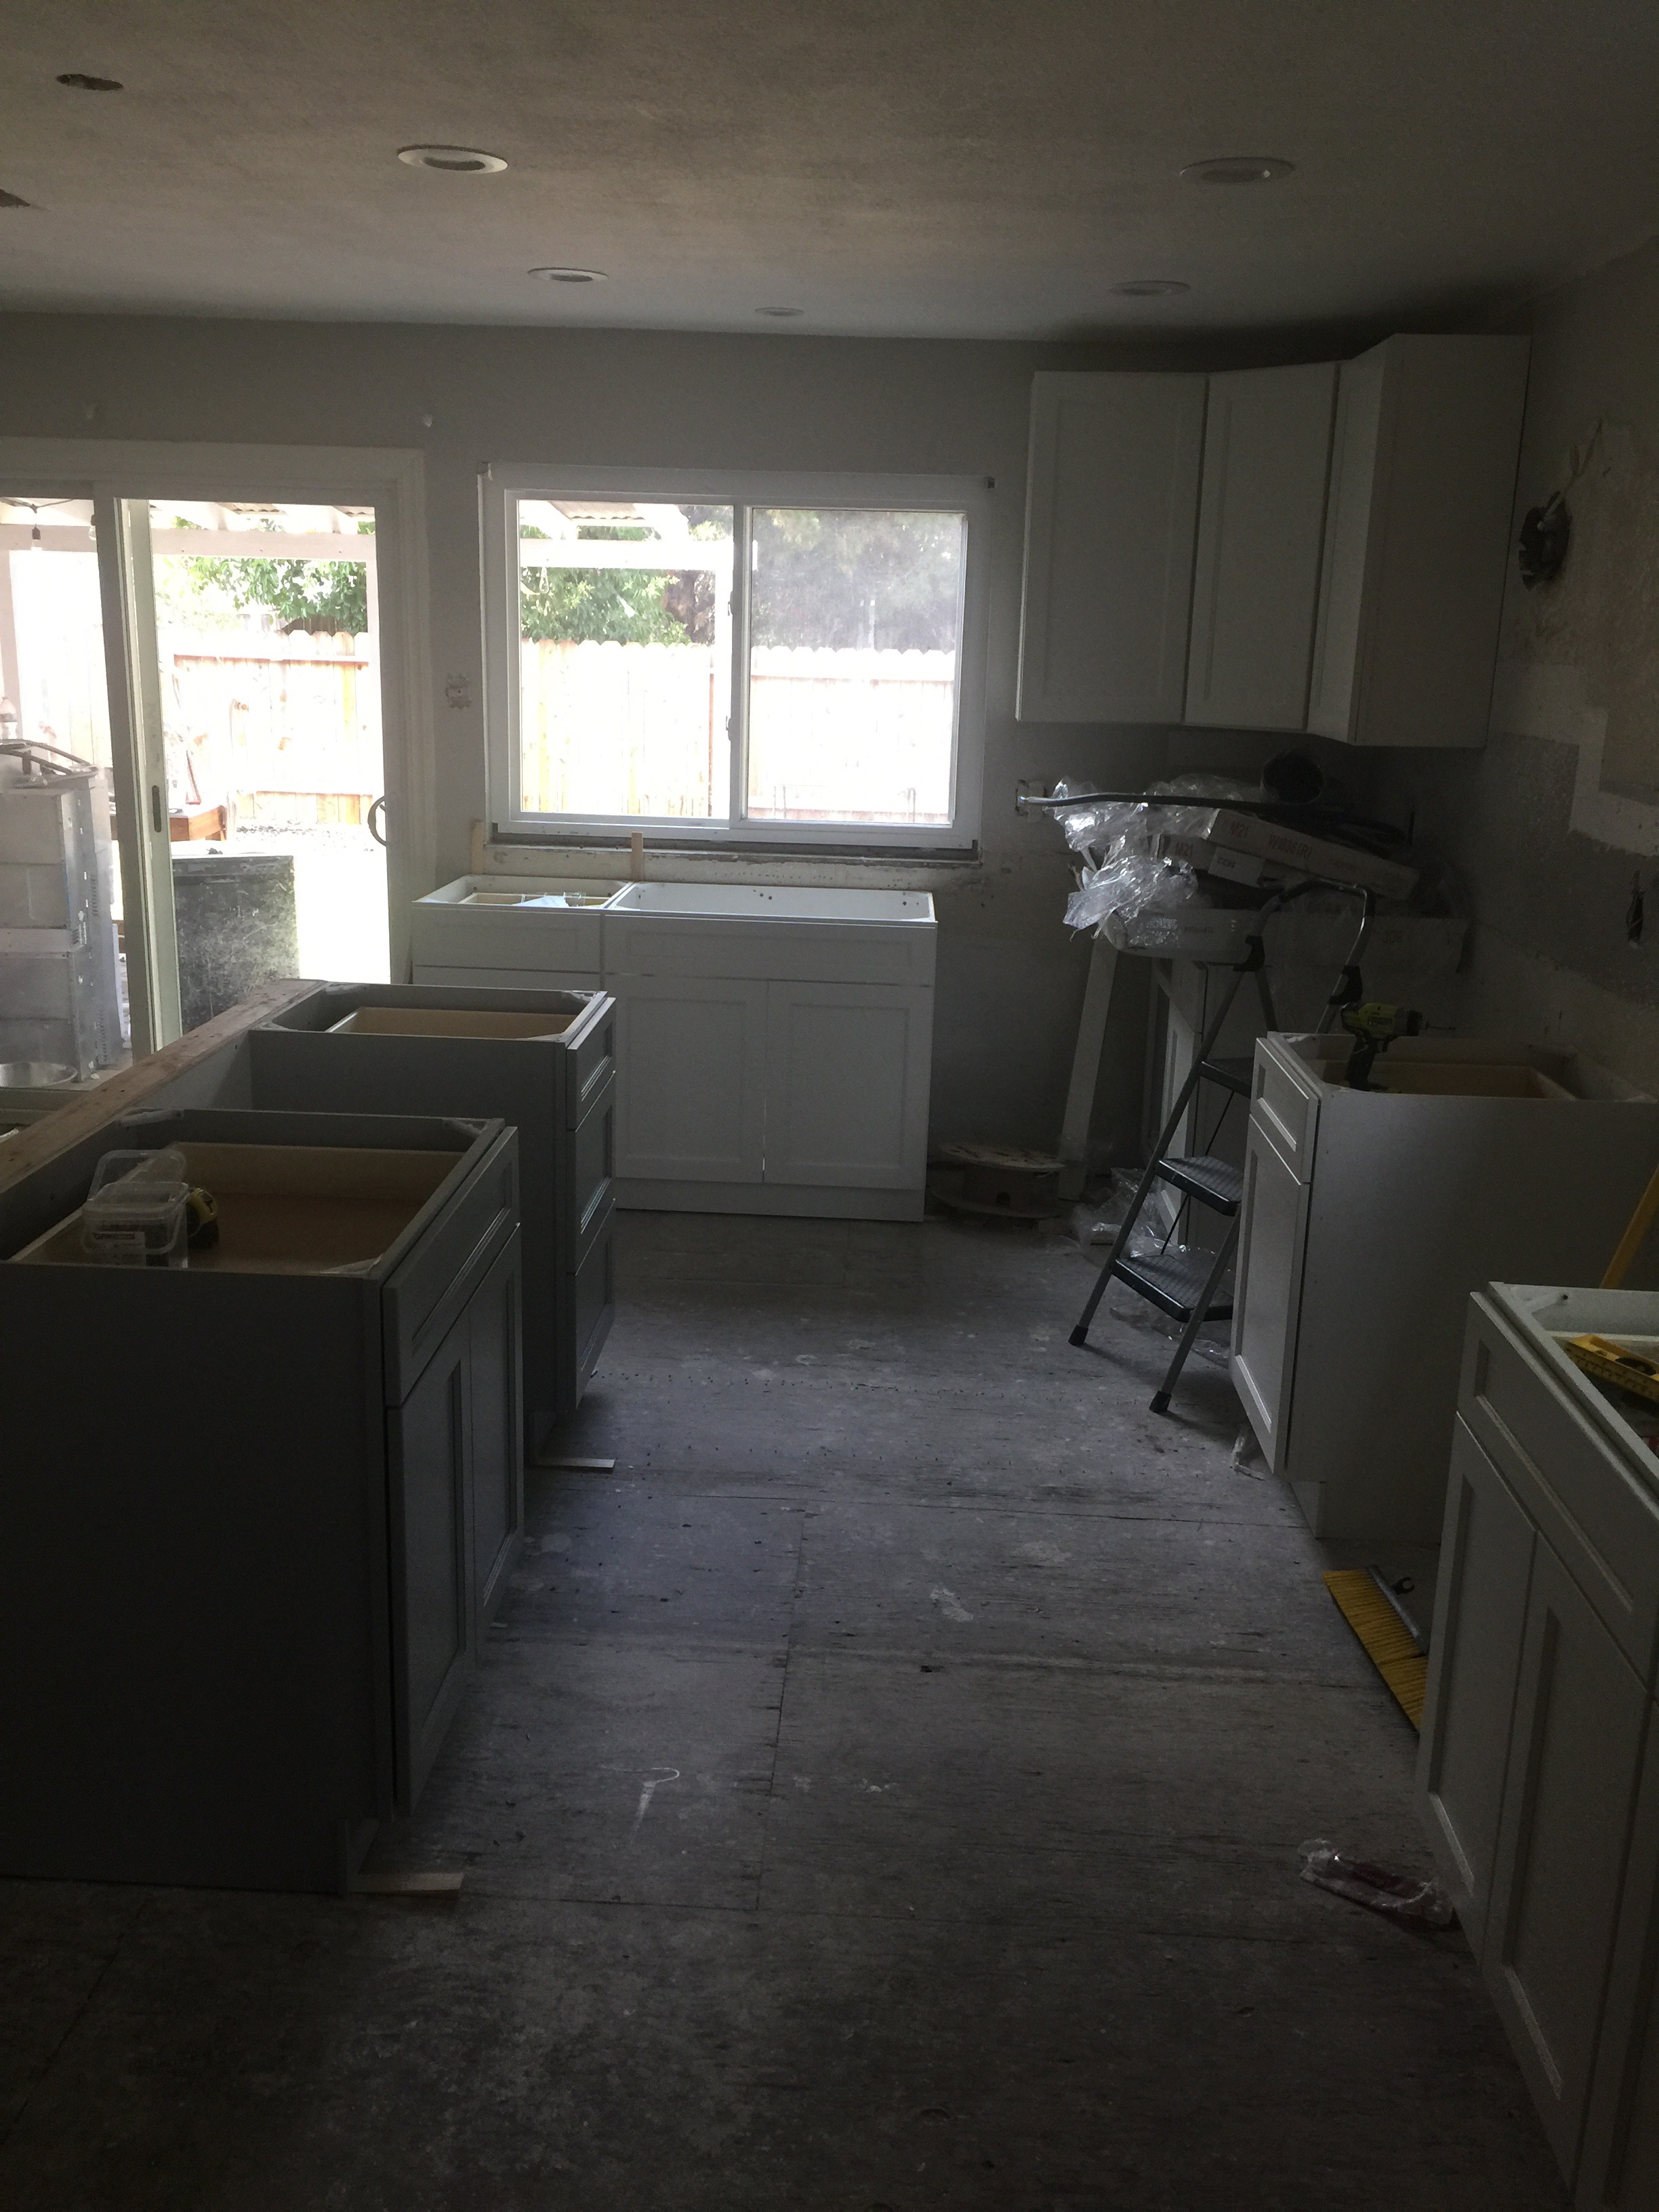
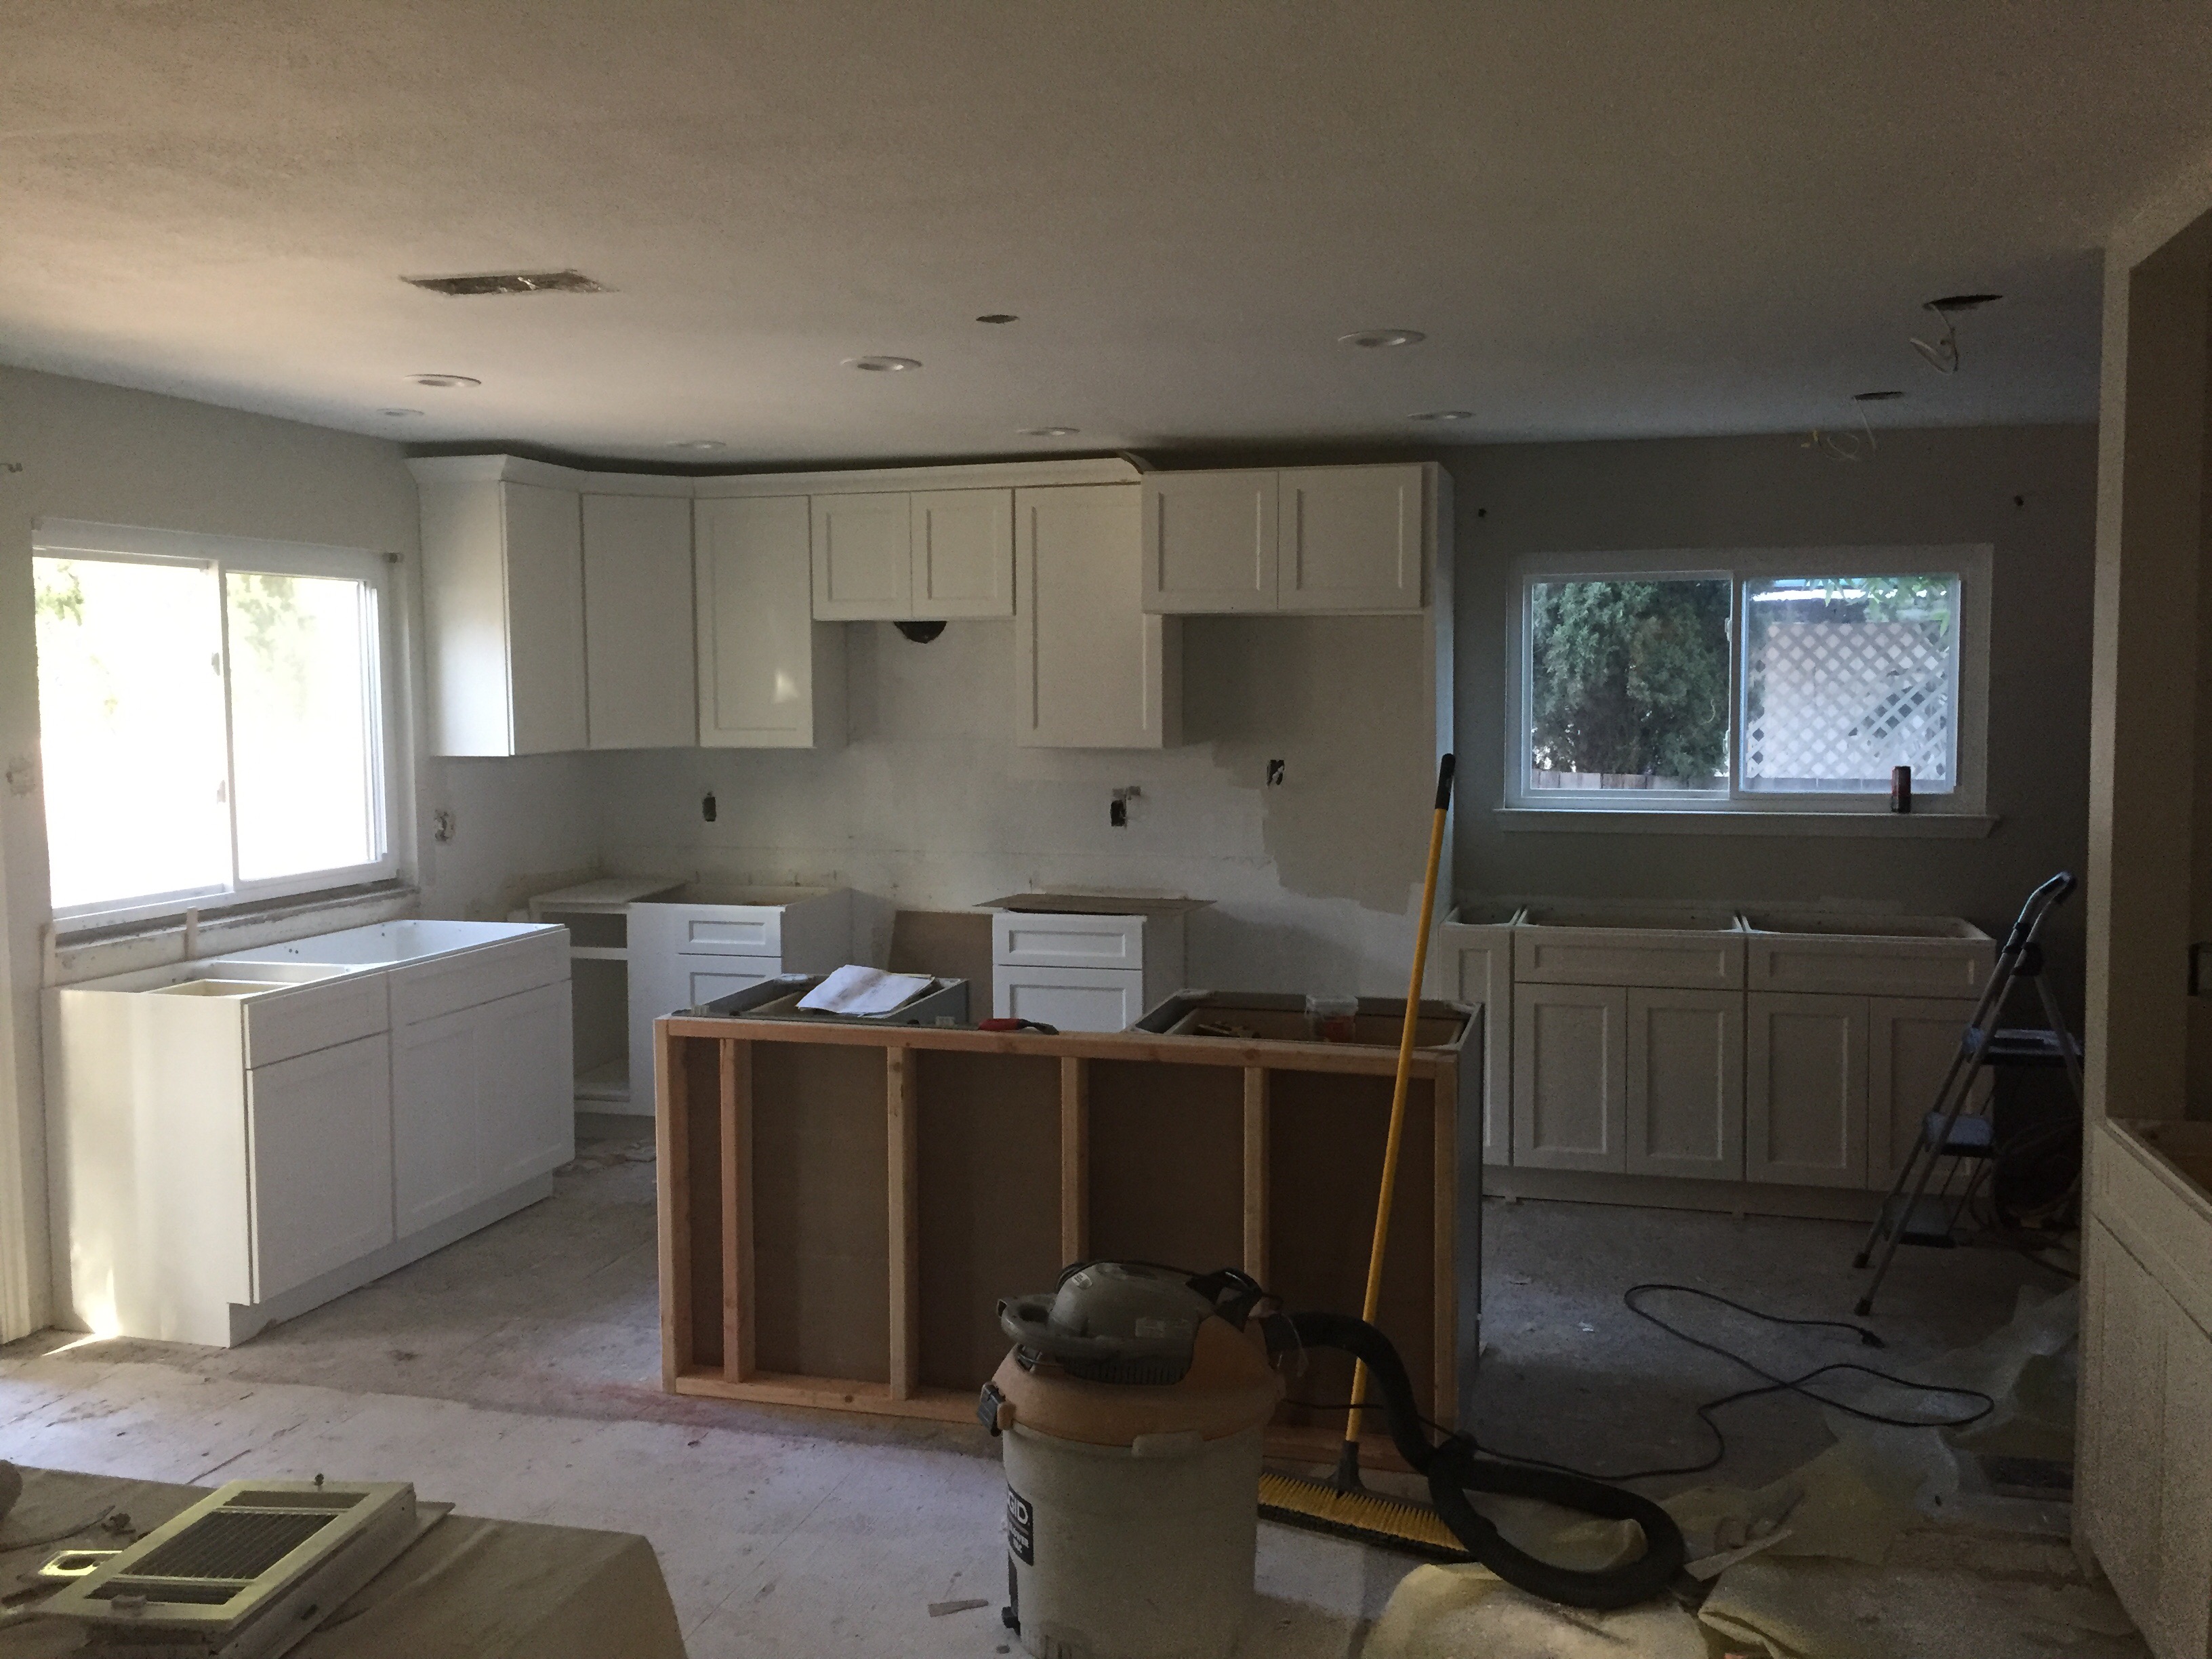
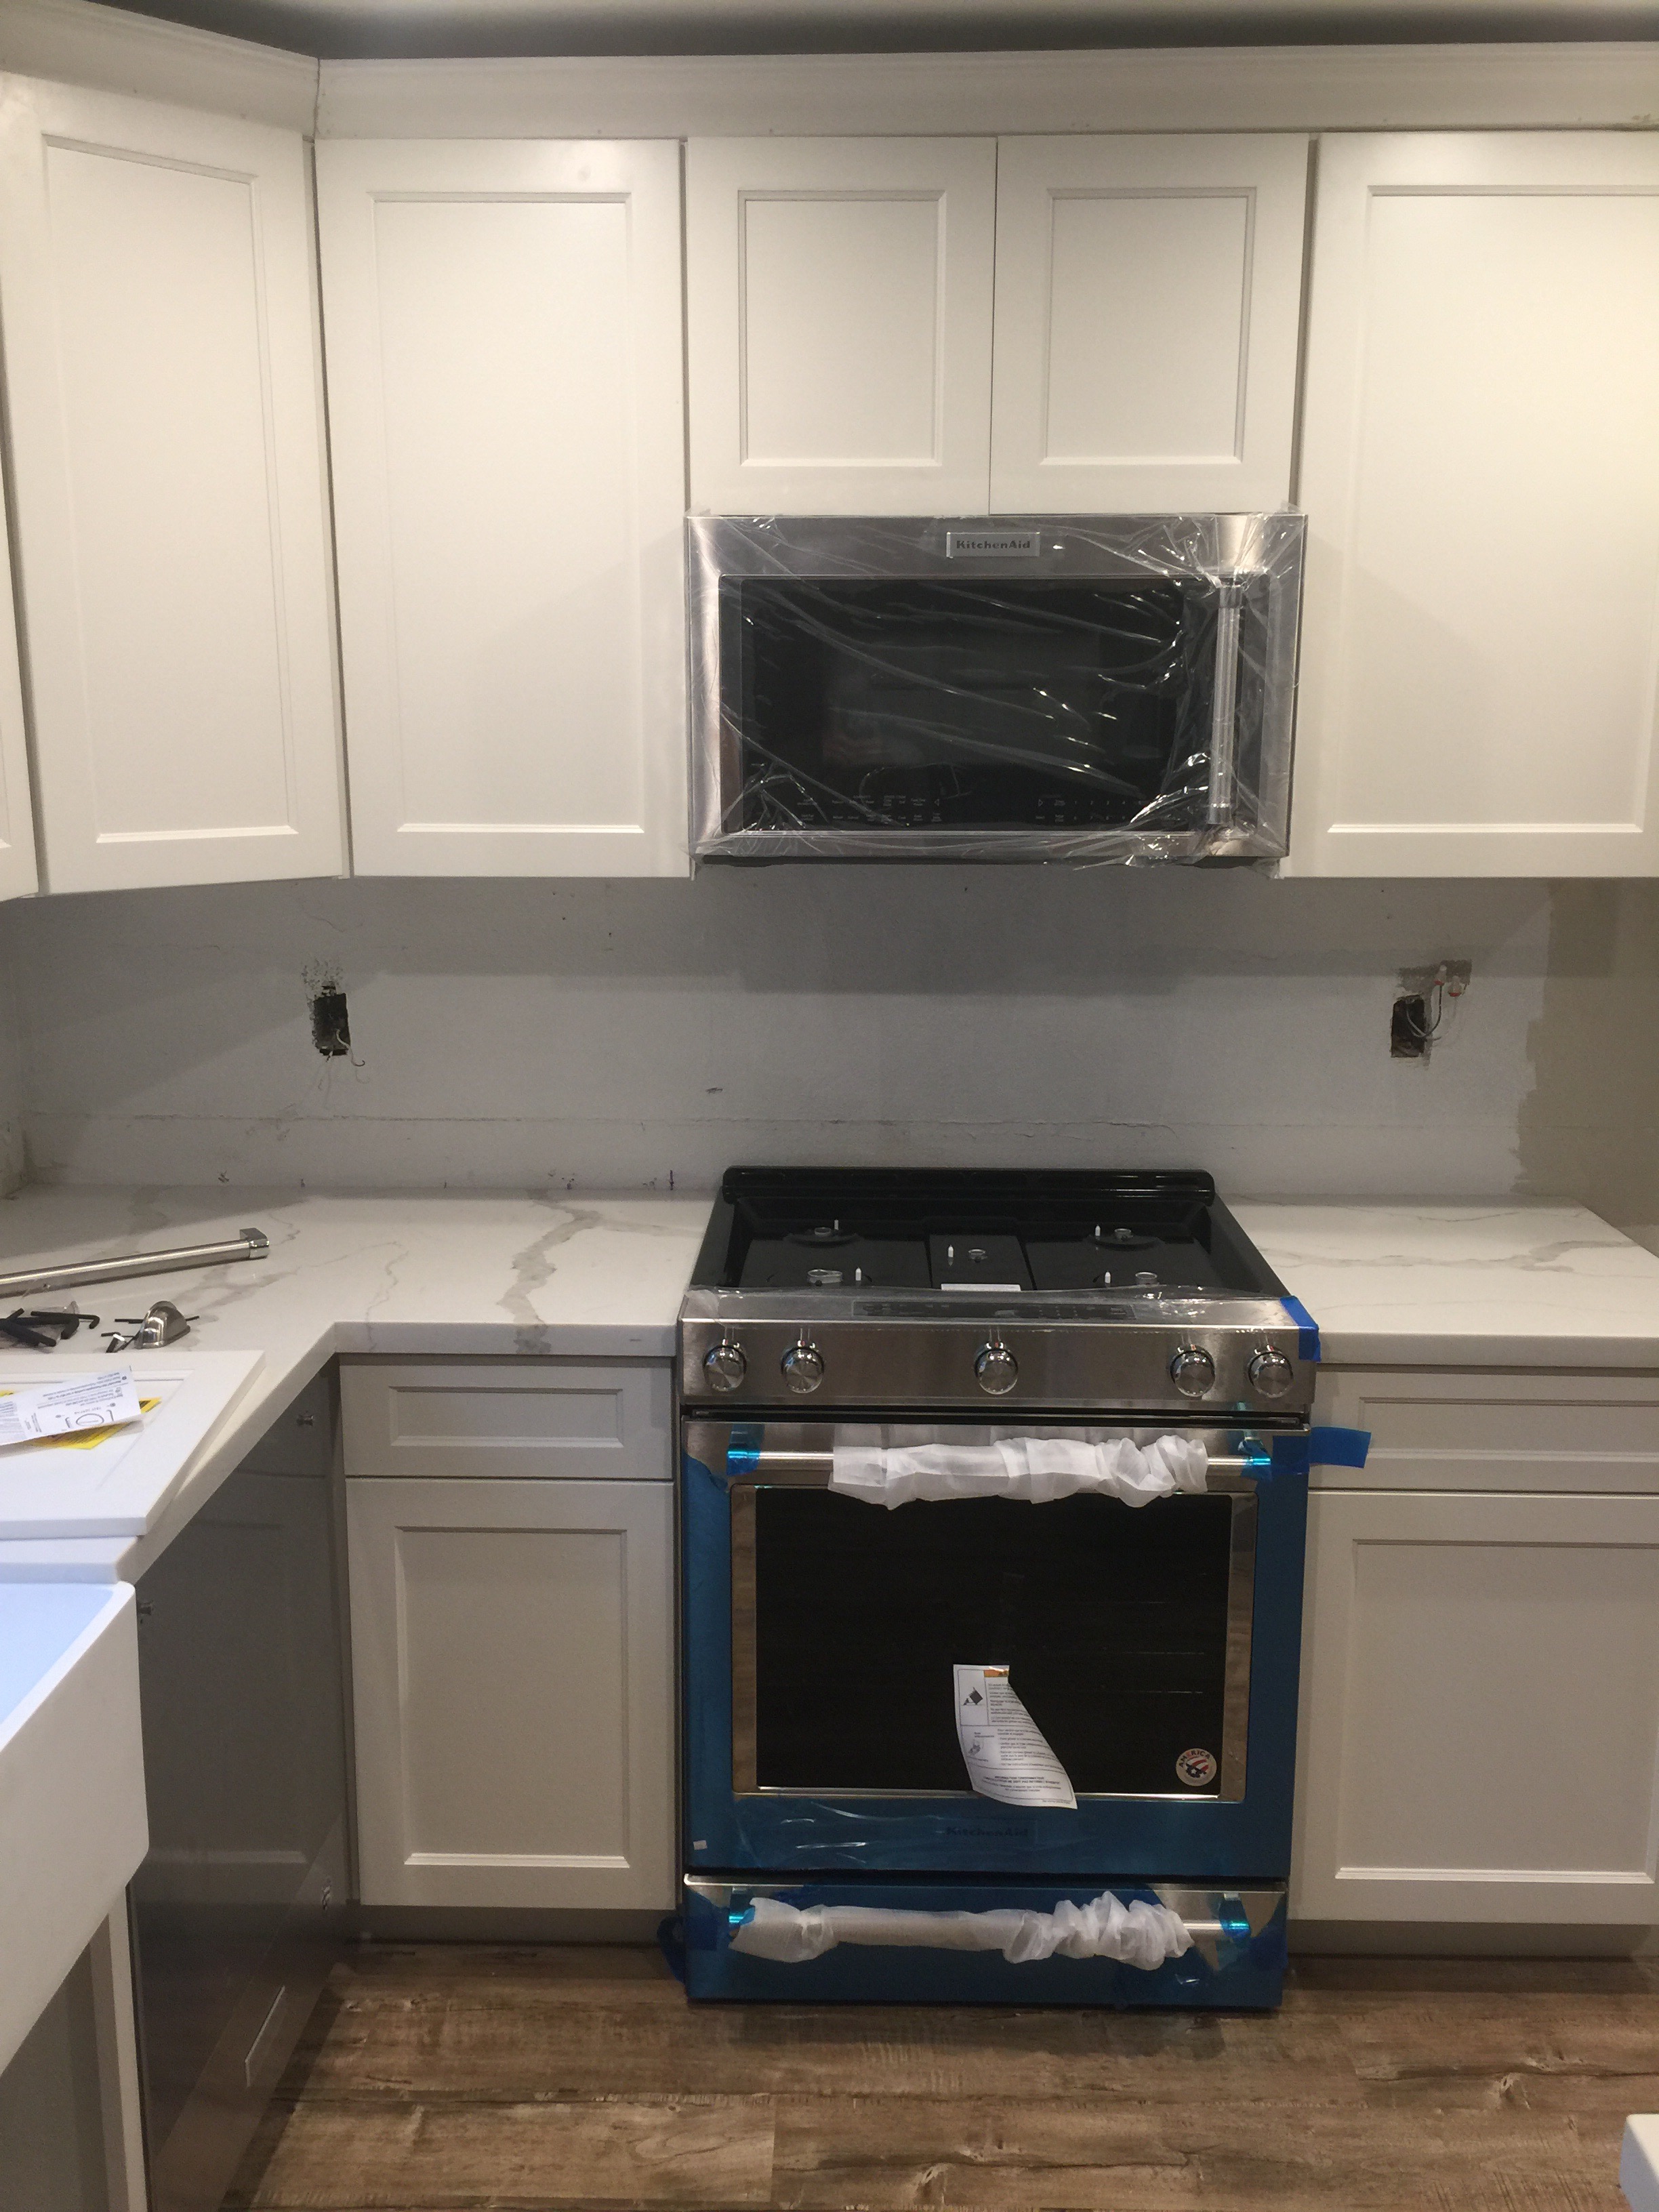
Here are some progress pictures…
Let’s just stop right here and talk about the sink. Ohh the sink. So first thing, I was told the sink wouldn’t fit because it dropped so low. The cabinet doors were too big. This occurred while the counter top installers were at my house. Talk about stressful. My sink, my beautiful, huge, farmhouse sink, wasn’t going to fit? Sigh, cry…punch something and say some cruse words. My contractor and I hop in the truck and run to lowes, nothing. Home Depot…nada. While there I mentioned that I would be willing to pay to have custom doors made, I really wanted this sink. I also knew a guy, my uncle, that I would ask. So we call the counter top guys and tell them to proceed. We get back to the house and they cut the counter tops for a set-in sink…NOT farmhouse. That slab was now trash, what.the.hell. I was so done with it that day. My contractor advised them they’d have to go pick up another piece and finish another day. This sounds dramatic but I was SO exited for the counter tops to be in. You can imagine how disappointed I was when that didn’t happen when I expected it to. A couple of days later they came back, installed the farmhouse sink and counter tops. Whew. Thank goodness. Also, we found cabinet doors that fit, same ones that are above the fridge. Ya some good news.
Ooo ya! I also really hated the existing flooring. But I was going to keep it to save money. I knew where the previous owners had purchased it so I called in and ordered enough for the new kitchen. It was soo cheap due to it being discontinued. Score, right? Well…here comes another f$/k moment, you ready? The day I’m supposed to drive to Roseville to pick up, they call and tell me the flooring is damaged and this is the last of it that they had. Anywhere. Did I already say f$*k? Well I have to admit I really wasn’t that upset because that meant I “hadddd” to pick out new flooring for the house. I went to a few local stores, brought home some samples and found the one. I think that’s it for f*%k moments but I might think of more as I go.
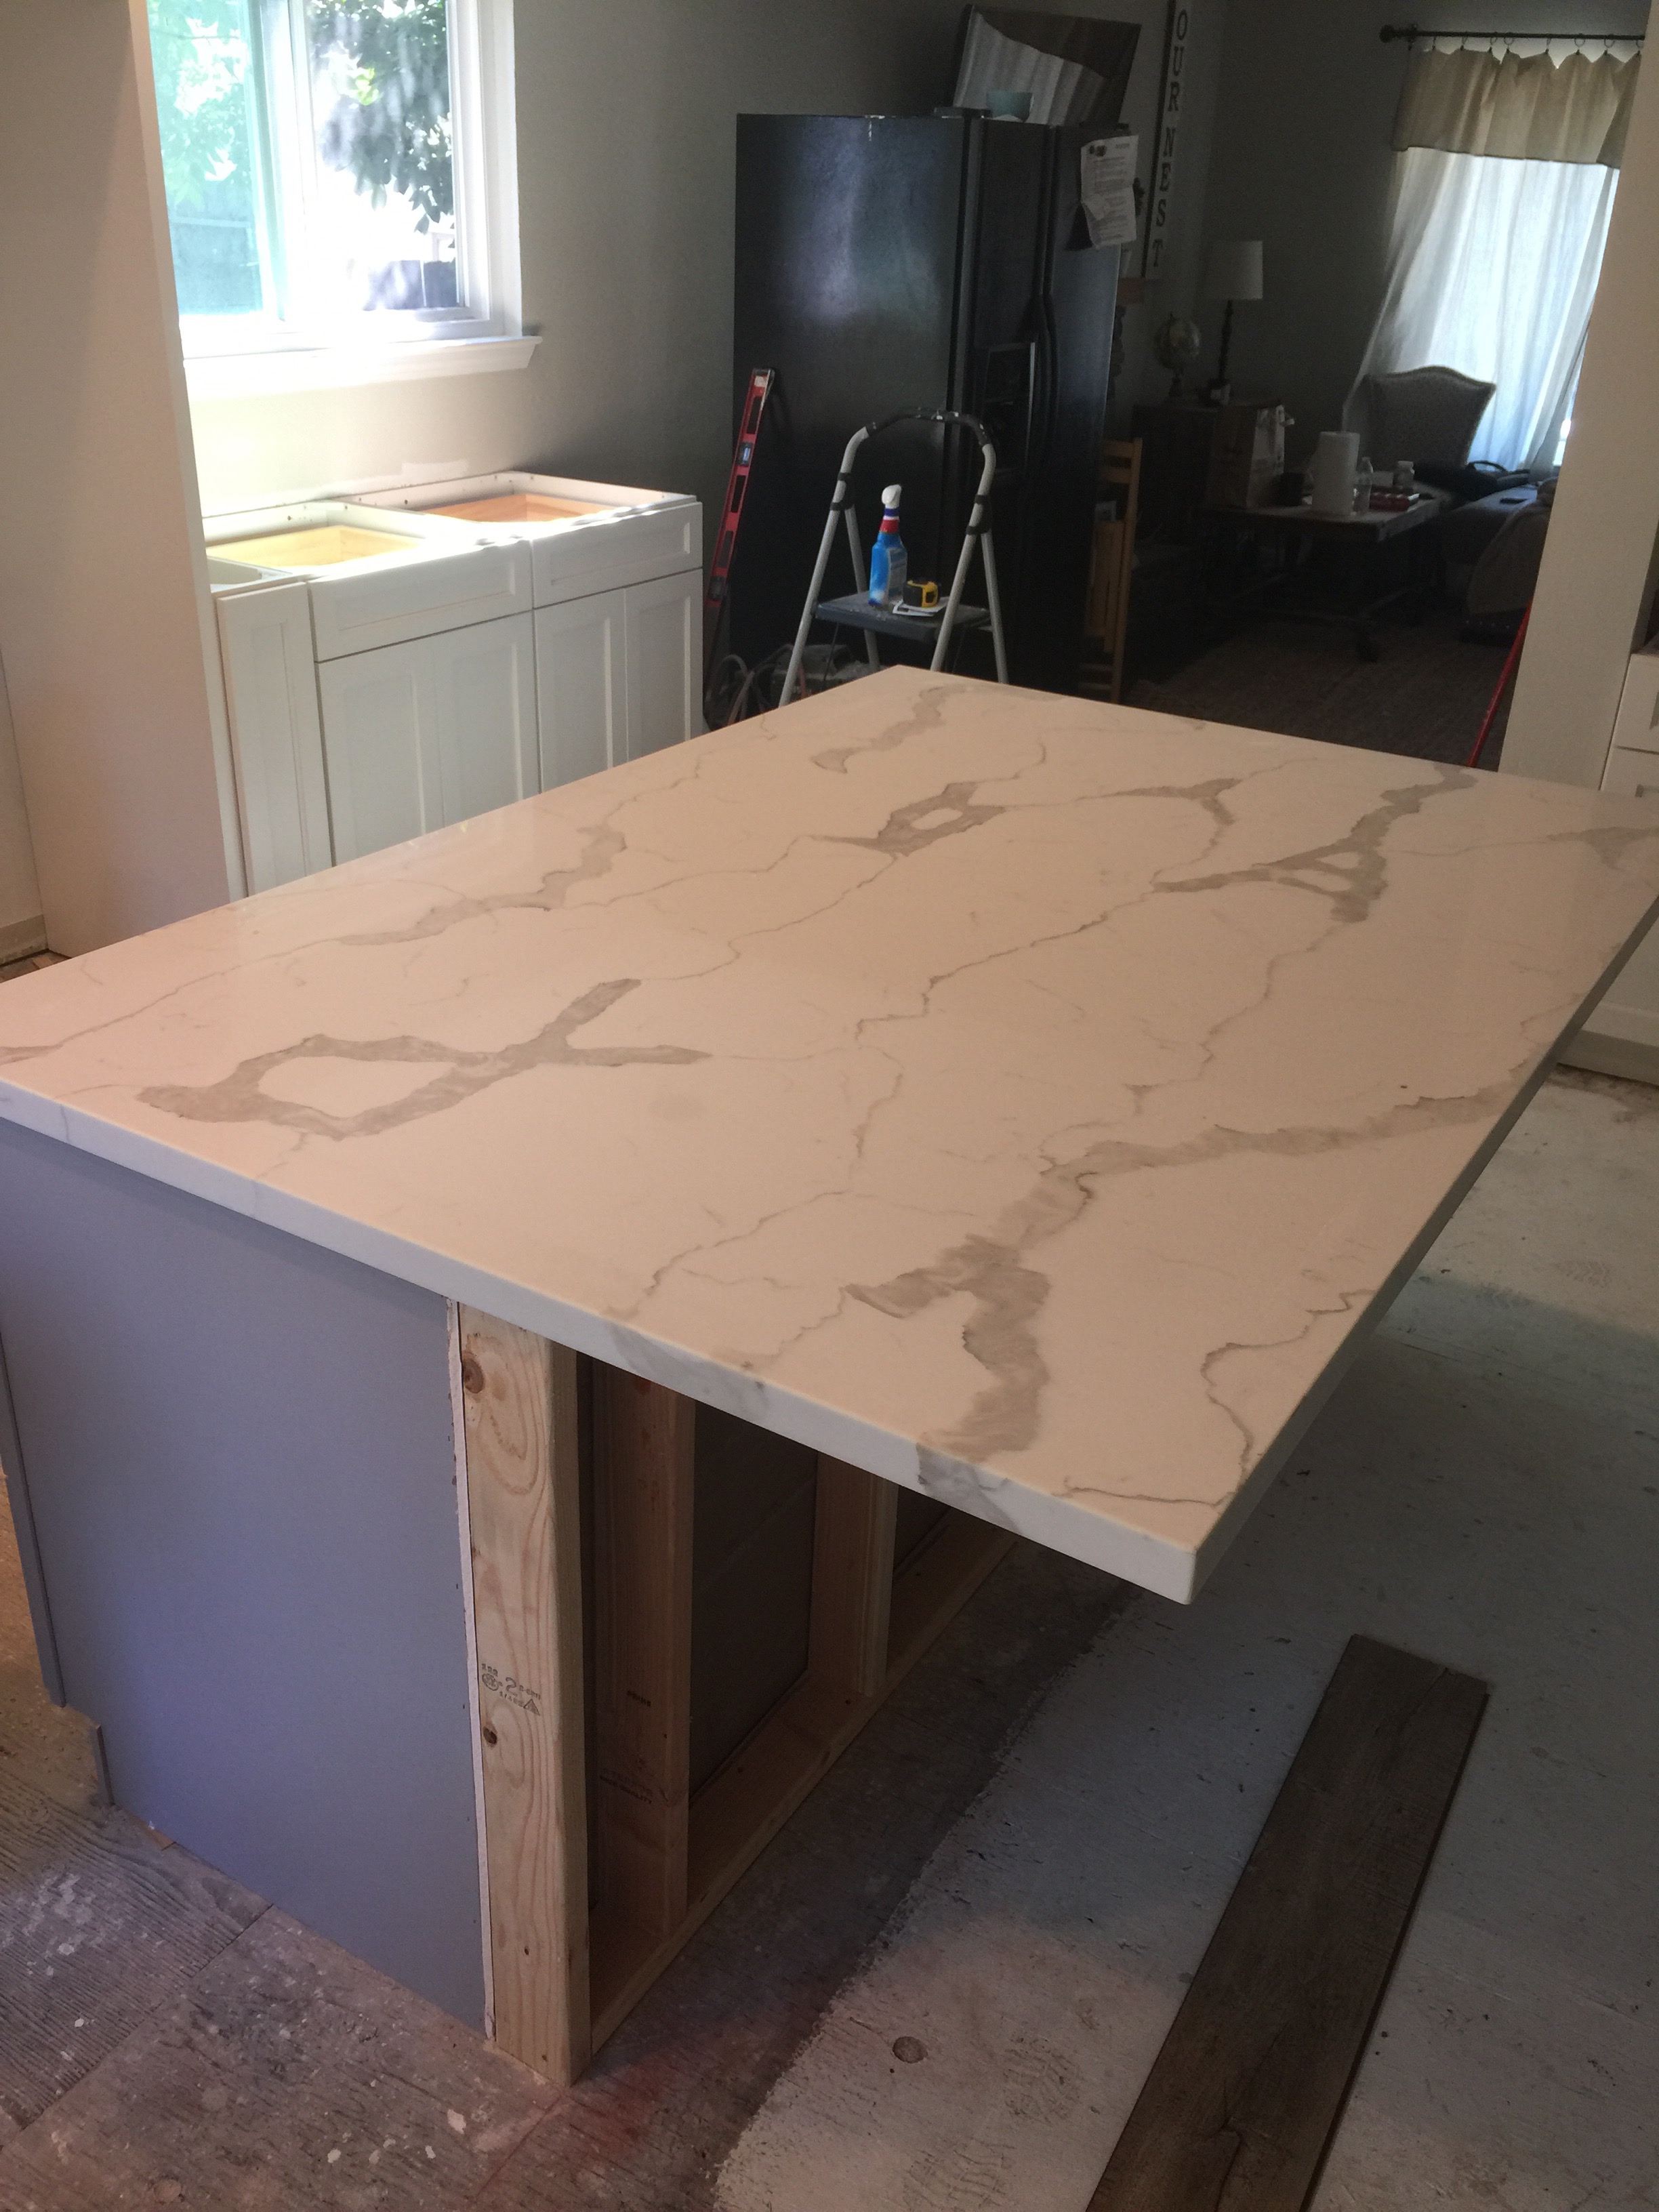
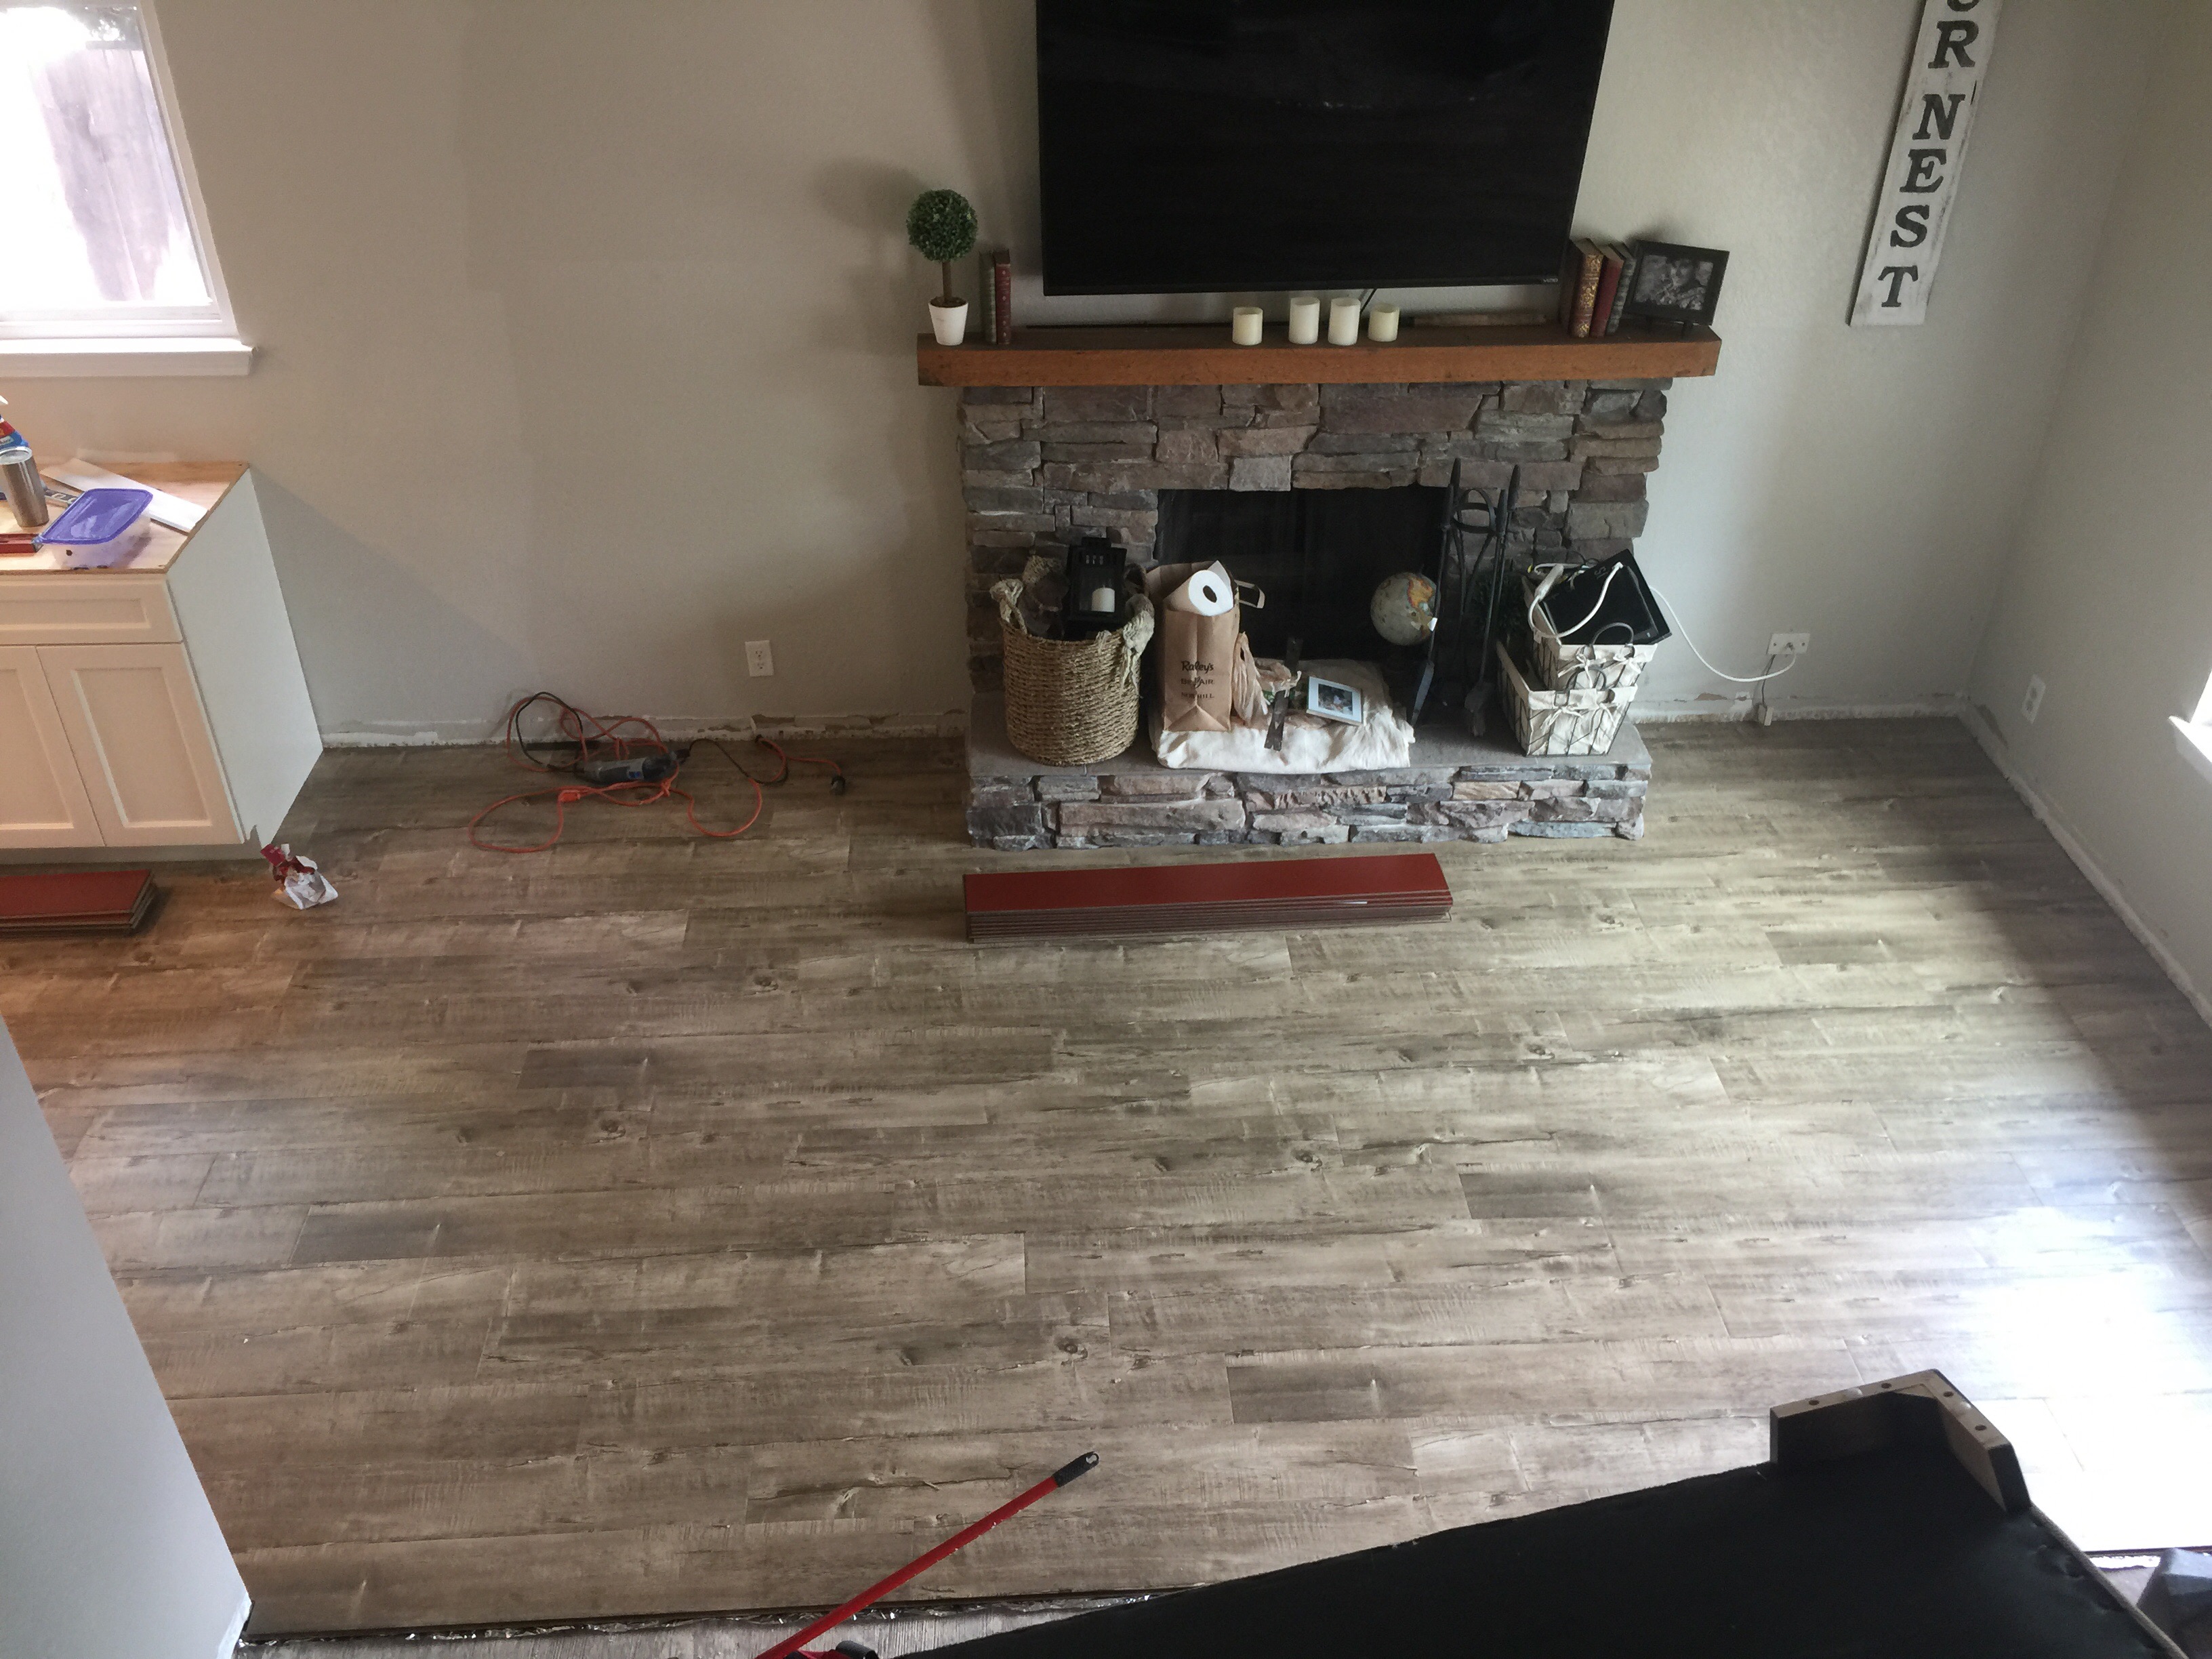
Here’s some more pictures, since I know that’s what you all really came here for.
Love the new floors right? I had been mopping a couple times a week and still couldn’t keep up with the floors. These new ones? Show nothing! It’s amazing…soo amazing.
So the kitchen is almost complete. I have one more thing to pick out. The backsplash. Simple right? Wrong! I had gone pretty clean and “plain” looking with the whole kitchen, I wanted the backsplash to had a little something to it. So I ordered this really beautiful arrow pattern tile. It gets delivered and I rip into the box with excitement. I go and put it up again the wall to test it out and…..crap! Way way way to busy looking…
I was super disappointed yet again. I loved the tile on its own but once it was up with the countertops, I just couldn’t do it. So I returned the tile and picked out a basic subway tile. Keeping it simple yet again, gosh I’m so basic. I had David with DLM flooring install it for me and we decided to go with a white grout. He did an amazing job and really completed the kitchen (well duh, that was the last thing) but really his work is amazing.
I am now wanting to change the grout to a light grey color but let’s just not talk about that… lol
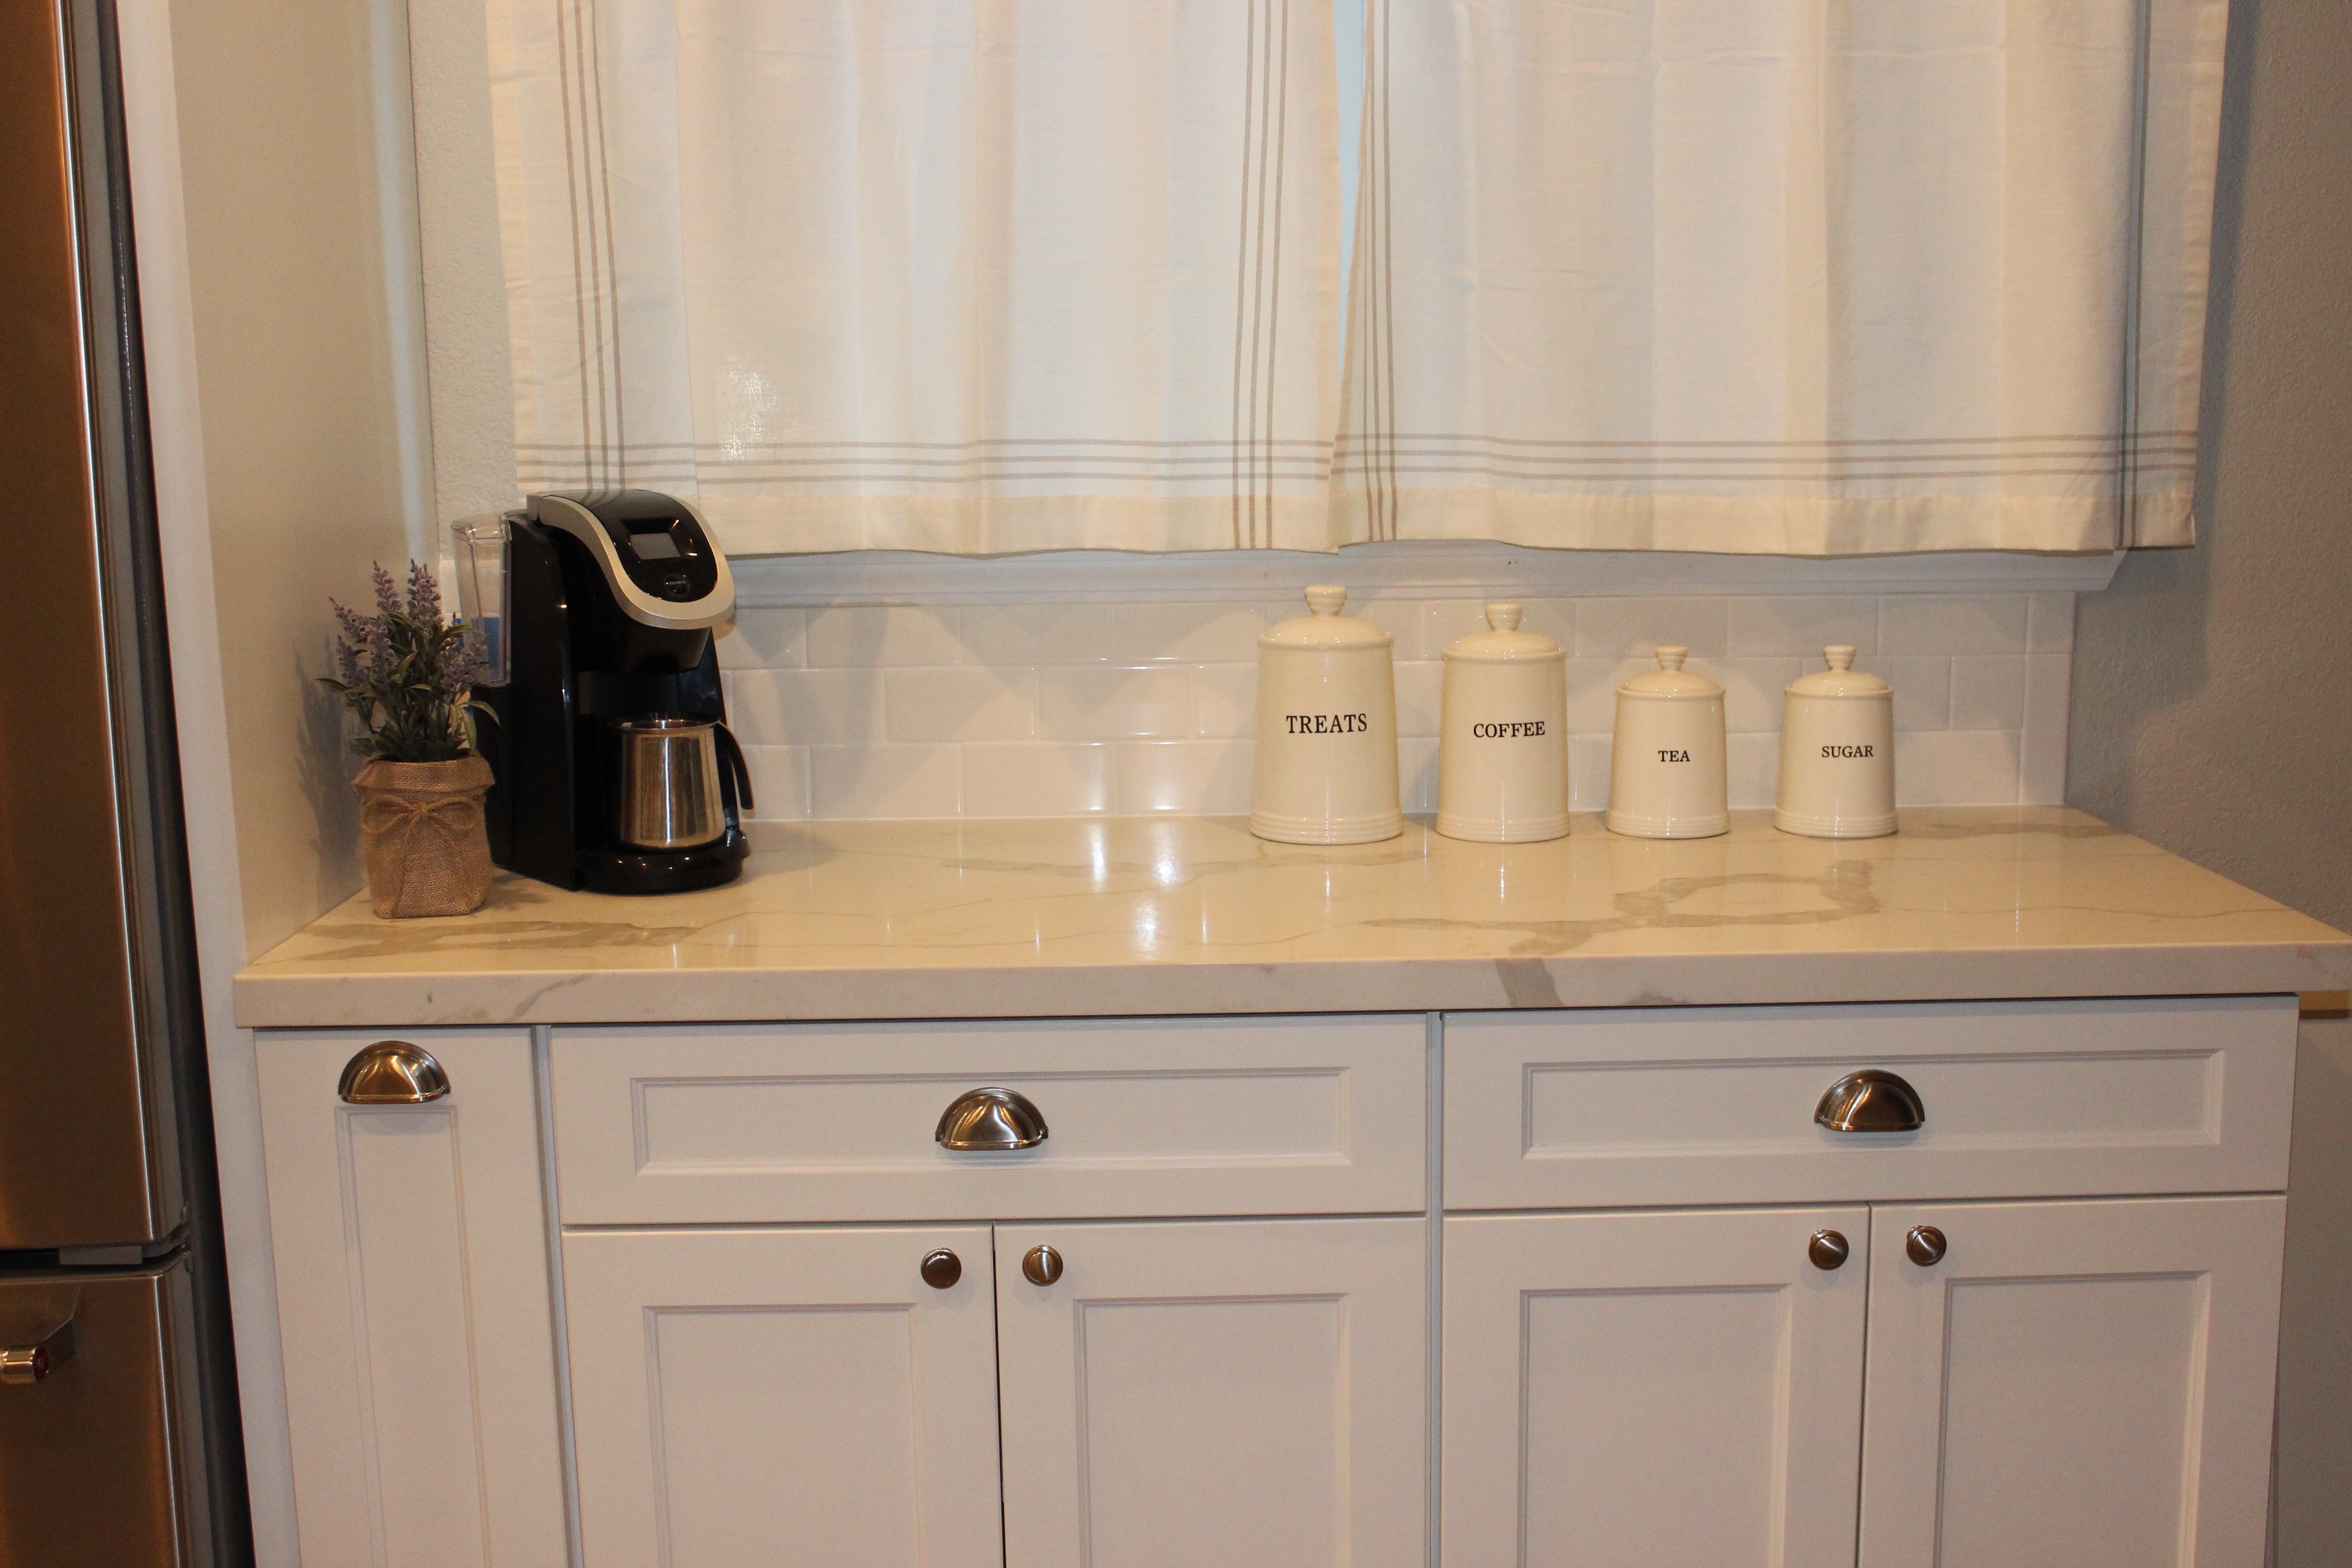
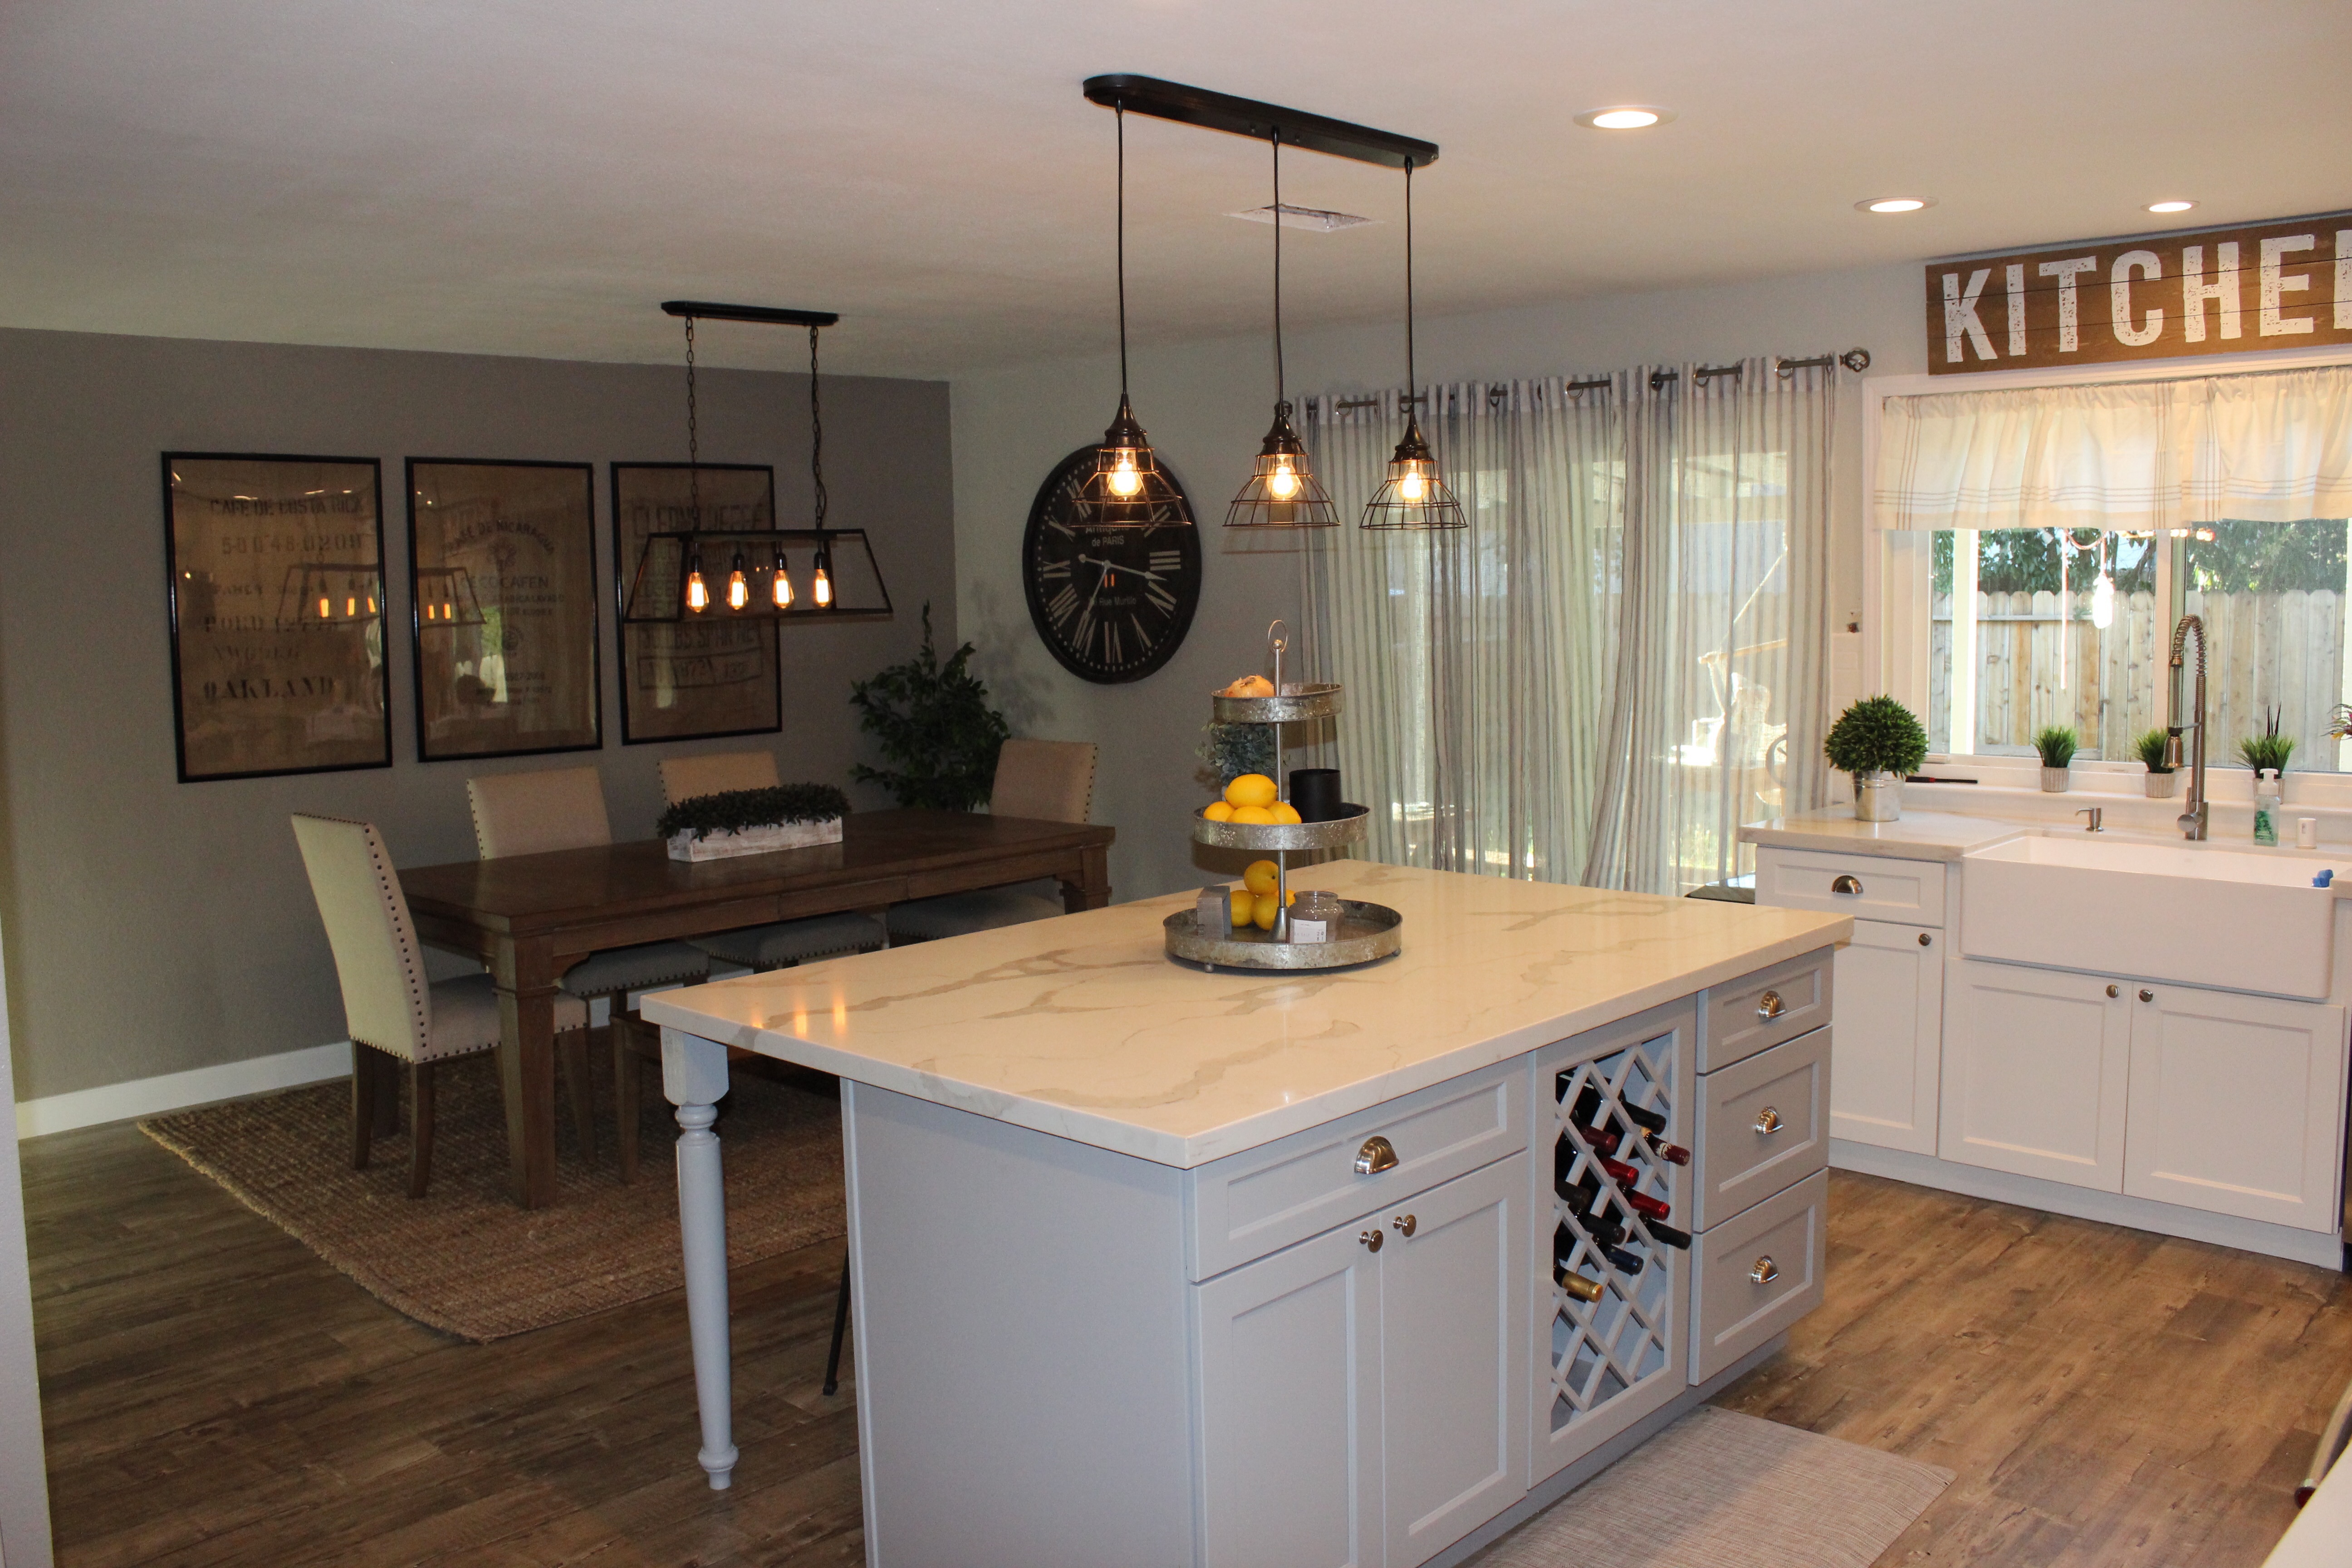
I think I’m going to do another post about the decor I picked out so for now here are some pictures of the completed kitchen
Over all the remodel was a huge success, it really wasn’t THAT stressful and I was actually able to have some fun with it. I enjoyed adding personal touches such as the custom island with the wine rack. The large island with the table legs and the bar area! Huge thank you to Josh, his wife Shannon and David for the tile and window seal!
To end here is a video of my parents seeing the kitchen for the first time